Printing Excel sheets can be tricky, especially when it comes to adjusting the settings to get the perfect print. However, with a few tips and tricks, you can print your Excel sheets with ease without losing any data or cutting off any sections.
 Cara Print Excel Agar Full Kertas
Have you ever printed an Excel sheet only to find out that some of the content was cut off? This can be frustrating, especially if you need to present the sheet to someone else. Fortunately, there is a solution.
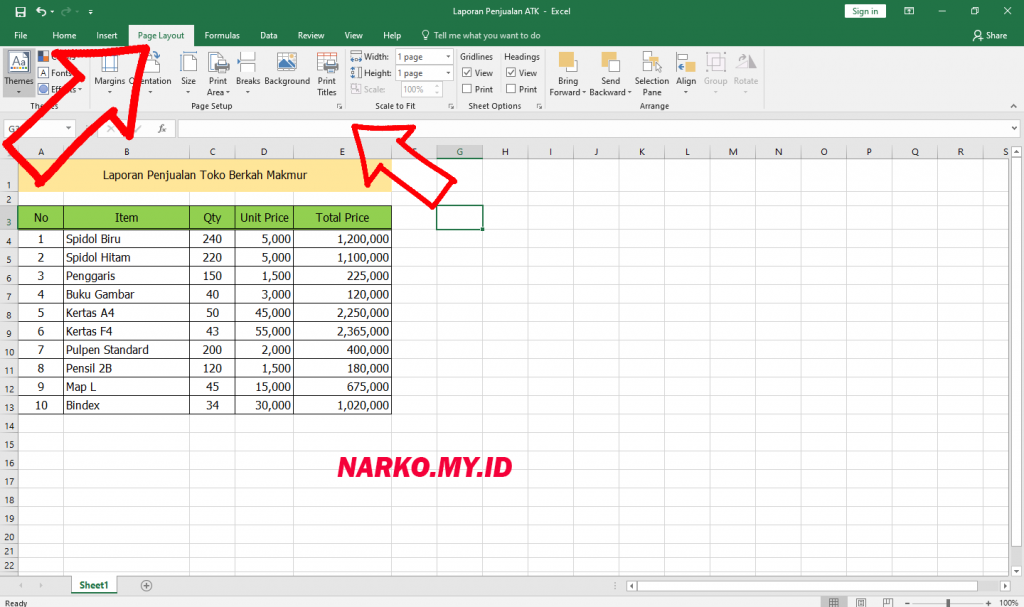
The first step is to adjust the page margins. You can access this option from the “Page Layout” tab in Excel. Click on “Margins” and select “Custom Margins.” Here, you can adjust the top, bottom, left, and right margins to your desired measurements. It is recommended to set the margins to be at least 0.5 inches on all sides.
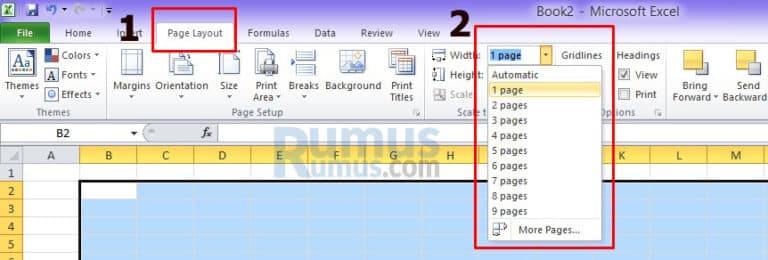
Next, make sure that the scaling option is set to “Fit All Columns on One Page” or “Fit All Rows on One Page,” depending on the orientation of your sheet. You can access this option from the “Page Setup” section in the “Page Layout” tab.
Another tip is to adjust the print area. You can do this by selecting the cells that you want to print and then going to “Page Layout” > “Print Area” > “Set Print Area.” This will ensure that only the selected cells are printed.
Finally, preview your print job before actually printing. You can do this by going to “File” > “Print” and selecting “Print Preview.” This will show you what the print job will look like before you actually print it, allowing you to make any necessary adjustments.
 Cara Print Landscape di Excel 2010
Printing an Excel sheet in landscape mode can be useful when you have a large amount of data that needs to fit on one page. Here’s how to do it in Excel 2010.
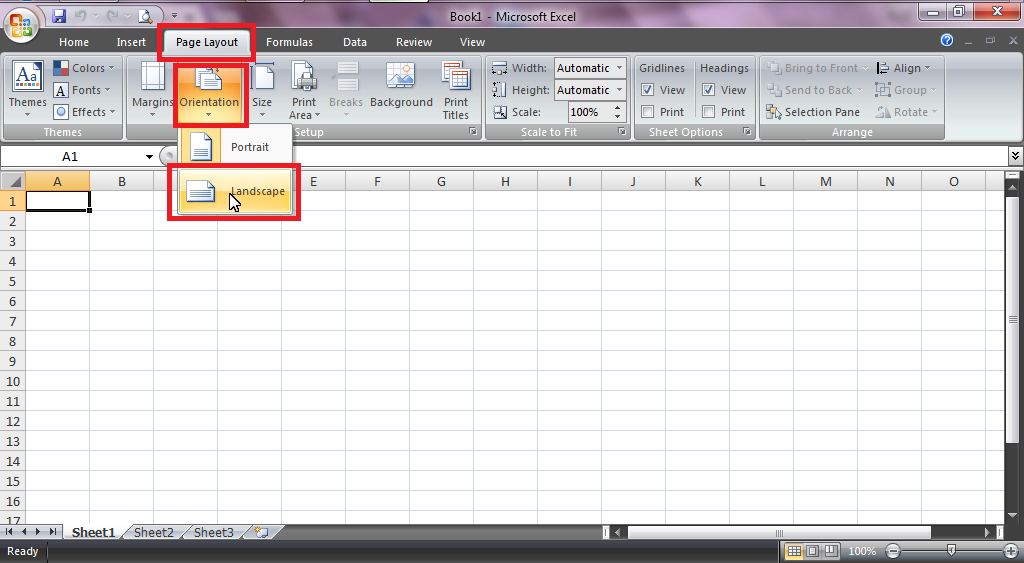
First, go to the “Page Layout” tab and select “Orientation.” Then, choose “Landscape.” This will change the orientation of your sheet so that it is wider than it is tall.
Next, adjust the scale to fit your entire sheet on one page. You can access this option from the “Page Setup” section in the “Page Layout” tab. Click on “Fit to” and adjust the number of pages wide and tall that you want your sheet to be.
Another tip is to adjust the margins. This can be done in the same way as when printing in portrait mode. It is recommended to set the margins to be at least 0.5 inches on all sides.
Finally, preview your print job before actually printing. You can do this by going to “File” > “Print” and selecting “Print Preview.” This will show you what the print job will look like before you actually print it, allowing you to make any necessary adjustments.
 Cara Ngeprint Excel Landscape
Printing an Excel sheet in landscape mode can be useful when you have a large amount of data that needs to fit on one page. Here’s how to do it in Excel.
The first step is to change the orientation of your sheet to landscape mode. You can access this option from the “Page Layout” tab under “Orientation.” Next, adjust the scaling so that your entire sheet fits on one page. This can be done from the “Page Setup” section under “Fit to.”
Another tip is to adjust the margins. It is recommended to set the margins to be at least 0.5 inches on all sides so that content is not cut off.
Finally, preview your print job before actually printing. This will allow you to make any necessary adjustments before you actually print the sheet.
 Cara Print Excel Agar Tidak Terpotong
Have you ever printed an Excel sheet only to find out that some of the content was cut off? Here’s how to prevent that from happening.
The first step is to adjust the page margins. You can access this option from the “Page Layout” tab in Excel. Click on “Margins” and select “Custom Margins.” Here, you can adjust the top, bottom, left, and right margins to your desired measurements. It is recommended to set the margins to be at least 0.5 inches on all sides.
Next, make sure that the scaling option is set to “Fit All Columns on One Page” or “Fit All Rows on One Page,” depending on the orientation of your sheet. You can access this option from the “Page Setup” section in the “Page Layout” tab.
Another tip is to adjust the print area. You can do this by selecting the cells that you want to print and then going to “Page Layout” > “Print Area” > “Set Print Area.” This will ensure that only the selected cells are printed.
Finally, preview your print job before actually printing. You can do this by going to “File” > “Print” and selecting “Print Preview.” This will show you what the print job will look like before you actually print it, allowing you to make any necessary adjustments.
Frequently Asked Questions
1. How do I print an Excel sheet that is larger than one page?
If your sheet is larger than one page, you can adjust the scaling by going to “Page Layout” > “Page Setup” > “Scaling.” Here, you can adjust the “Adjust to” percentage to fit your sheet on one page. You can also adjust the orientation and margins to ensure that all content is visible.
2. How do I print an Excel sheet in grayscale?
To print an Excel sheet in grayscale, go to “File” > “Print” > “Printer Properties” and select “Grayscale” under “Color Mode.” This will print your sheet in shades of gray instead of colors.
 Cara Print Excel Agar Full Kertas
 Cara Print Landscape di Excel 2010
 Cara Ngeprint Excel Landscape
 Cara Print Excel Agar Tidak Terpotong