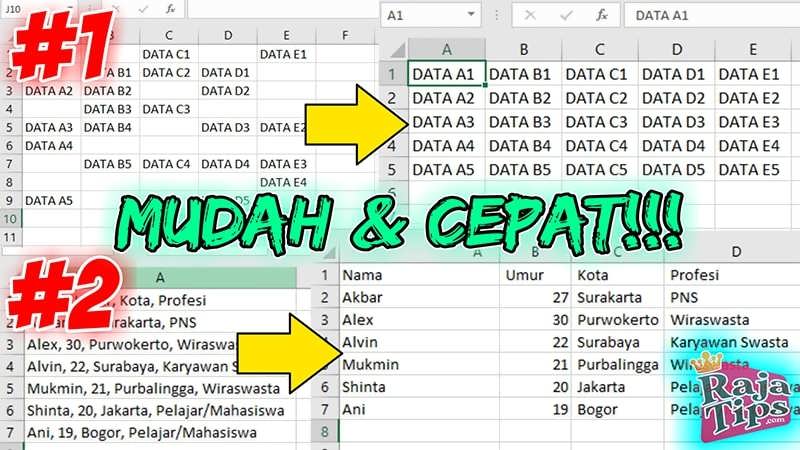
CSV files are commonly used for storing data and sharing information. However, they can be quite difficult to work with, especially when opened in Excel. The data may appear as a mishmash of characters and values, making it difficult to read and analyze. In this article, we will discuss two quick and easy ways to clean up CSV files in Excel.
Method 1: Using the Text to Columns Feature
The Text to Columns feature in Excel is an easy way to split up CSV data into separate columns. It can be a time-consuming process to do it manually, but this feature streamlines the process.
Step 1: Select the CSV File
To begin, open the CSV file in Excel. If you’re unsure how to do this, click the “File” tab, then “Open” and browse for the file.
Step 2: Select the Data You Want to Split
Next, select the data you want to split into separate columns. Make sure the data is all in one column and separated by a consistent delimiter, such as a comma. If you have a different delimiter, you may need to select “Delimited” in the next step and specify the delimiter you want to use.
Step 3: Open the Text to Columns Wizard
Click the “Data” tab in the Excel ribbon and select “Text to Columns.” The Text to Columns wizard will appear. You’ll have two options at this point:
- Delimited: This option is for data separated by a delimiter, such as a comma or tab. If your data is separated by a delimiter, select this option and specify the delimiter you want to use.
- Fixed width: This option is for data that is separated into columns of a fixed width. If your data is separated into columns of a fixed width, select this option and specify the width of each column.
Step 4: Choose the Delimiter
If you selected “Delimited” in step 3, choose the delimiter you want to use to split your data. Excel will give you a preview of how your data will look after it’s split.
Step 5: Format Each Column
After you’ve selected your delimiter, you can format each column separately. You can choose to format each column as text, number, date, or a custom format. Make sure to format each column correctly, or you may end up with a mess of data again!
Step 6: Finish and Save
Once you’ve selected your delimiter and formatted each column, click “Finish” to complete the process. Excel will split your data into separate columns. You can now save the file and work with the data in a more organized way.
Method 2: Using the Excel Power Query Add-In
The Excel Power Query add-in allows you to clean, transform, and merge data from a variety of sources. It’s a powerful tool that can automate much of the cleaning process for you.
Step 1: Open the Excel Power Query Add-In
To begin, click the “Data” tab in the Excel ribbon and select “New Query.” From the dropdown menu, select “From File” and then “From CSV.” Browse for the CSV file you want to clean and select it. The Power Query Editor will open.
Step 2: Remove Unnecessary Columns
The Power Query Editor will show you a preview of your data. If there are any columns that you don’t need, select them and click “Remove Columns” in the “Transform” tab of the Excel ribbon.
Step 3: Split Columns
If you have a column with data that needs to be split into separate columns, select the column and click “Split Columns” in the “Transform” tab. You can either split the data by delimiter or by the number of characters.
Step 4: Merge Columns
If you have two or more columns that need to be merged, select the columns and click “Merge Columns” in the “Transform” tab. You can specify the delimiter you want to use to separate the data in the merged column.
Step 5: Format Your Data
The Power Query Editor allows you to format your data in a variety of ways. You can change the data type of a column, remove any leading or trailing spaces, and even extract specific parts of a string. Use the “Transform” tab to make any necessary changes.
Step 6: Load Your Cleaned Data
Once you’ve cleaned and formatted your data, click “Close & Load” to load the cleaned data back into Excel. You can now work with the data in a more organized way.
FAQs
Q: What happens if I don’t clean up my CSV file?
A: If you don’t clean up your CSV file, it may be hard to read and analyze the data. This could lead to mistakes or incorrect conclusions being drawn from the data.
Q: Can I automate the cleaning process?
A: Yes, you can use the Excel Power Query add-in to automate much of the cleaning process. It can save you a lot of time and effort.
Conclusion
Cleaning up CSV files in Excel may seem like a daunting task, but it doesn’t have to be. By using either the Text to Columns feature or the Excel Power Query add-in, you can quickly and easily separate and organize your data. This will make it much easier to analyze and draw conclusions from your data.

