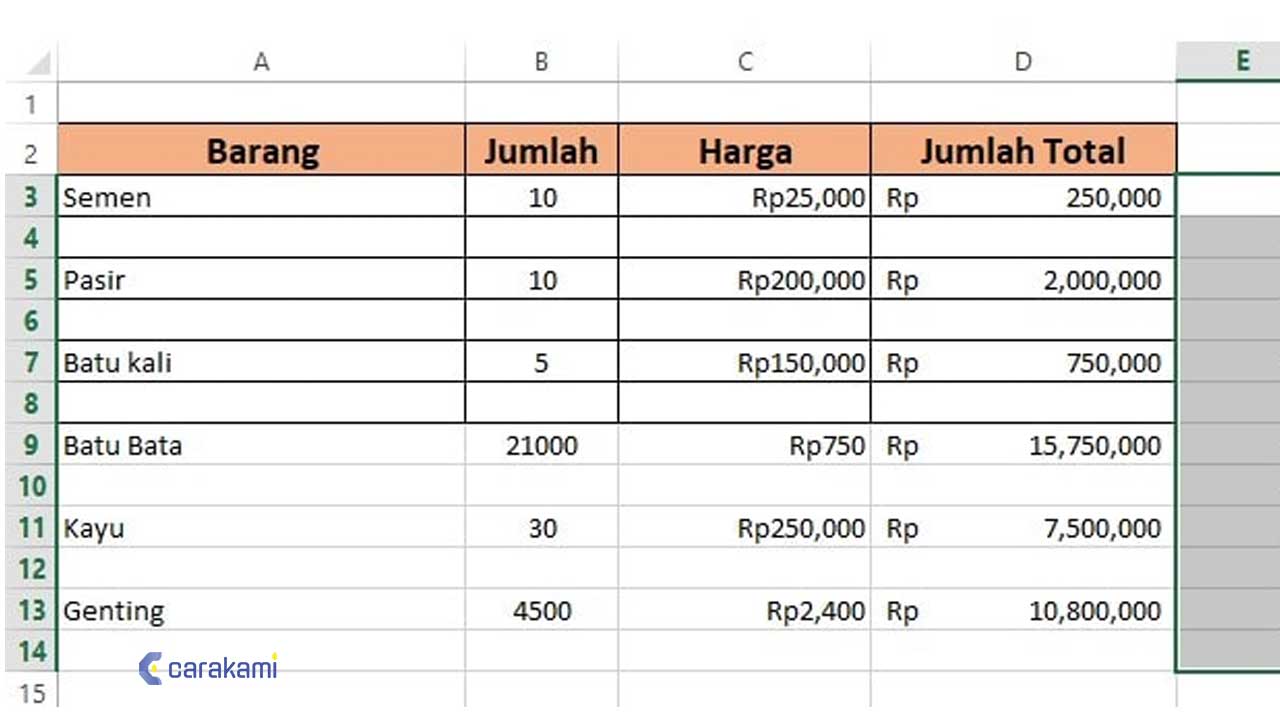
Have you ever found yourself struggling to organize your data in Excel? Fret no more, as this article will guide you through the process of inserting rows and columns in Excel effortlessly. Whether you are a beginner or an advanced user, the following tips will help you navigate Excel with ease.
Inserting Rows in Excel
When you have a large dataset in Excel, there may be instances when you need to add more rows to it. Here’s how to insert rows in Excel:
Step 1: Select the row above where you want to insert the new row.
Step 2: Right-click on the selected row and click on “Insert.”
Step 3: The new row will be inserted above the selected row.
If you want to add multiple rows at once, simply select the number of rows you want to add and follow the same steps.
Inserting Columns in Excel
Similar to inserting rows, there may be times when you need to add more columns to your dataset. Here’s how to insert columns in Excel:
Step 1: Select the column to the right where you want to insert the new column.
Step 2: Right-click on the selected column and click on “Insert.”
Step 3: The new column will be inserted to the left of the selected column.
Just like inserting rows, if you want to add multiple columns at once, simply select the number of columns you want to add and follow the same steps.
Tips for Inserting Rows and Columns in Excel
Here are some tips to make inserting rows andcolumns in Excel even easier:
- You can also use the shortcut key “Ctrl + Shift + =” to add a new row above the selected row.
- Similarly, you can use the shortcut key “Ctrl + Shift + +” to add a new column to the left of the selected column.
- If you want the new row or column to have the same formatting as the selected row or column, right-click on the selected row or column and choose “Copy,” then right-click on the new row or column and choose “Insert Copied Cells.”
- You can also insert a row or column by selecting the entire row or column, right-clicking on it, and choosing “Insert.”
FAQ
Q1. Can I insert multiple rows or columns at once?
A1. Yes, you can insert multiple rows or columns at once. Simply select the number of rows or columns you want to insert and follow the same steps as inserting a single row or column.
Q2. How do I shift data when inserting rows or columns?
A2. If you want to shift the data when inserting rows or columns, you can use the “Shift Cells” option. After selecting the row or column to insert, right-click on it and choose “Insert,” then choose “Shift Cells Right” or “Shift Cells Down” depending on the location of the new row or column. This will move the existing data to accommodate the new row or column.
Video Tutorial
For a visual guide on how to insert rows and columns in Excel, check out the following video tutorial:
Conclusion
Inserting rows and columns in Excel may seem like a simple task, but it is a crucial part of data organization. By following the steps outlined in this article, you can effortlessly add more rows and columns to your dataset in Excel. Remember to also utilize the tips provided to make the process even smoother.

