Have you ever found yourself struggling to convert your Excel spreadsheet into a PDF format? Fear not, dear reader, for we have gathered some helpful tips and tricks to make the process of converting Excel to PDF a breeze!
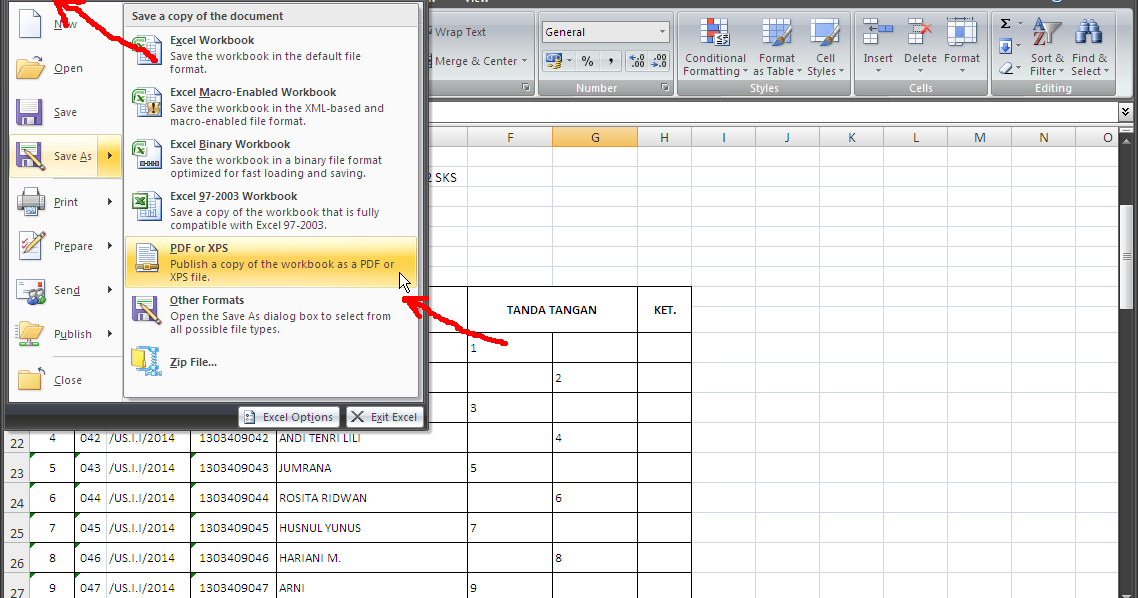
Tip 1: Use the Save As PDF Option
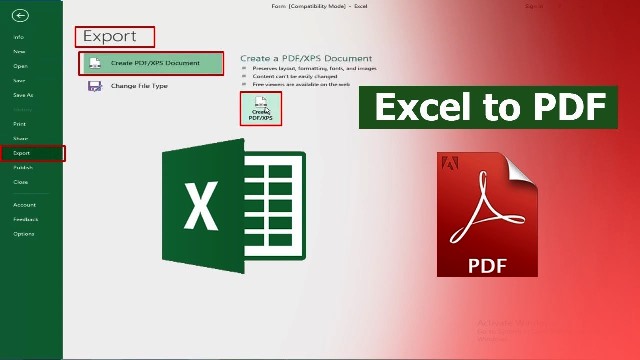
The easiest and most straightforward way to convert your Excel document to a PDF is by using the “Save As” function. Simply navigate to the “File” tab, select the “Save As” option, and choose PDF from the list of available file types. This will create a new PDF file that is identical to your Excel document, including all formatting, images, and charts.
But what if you want to convert multiple Excel files into PDFs at once? Fear not, for there is an easy solution to this as well! Simply select all the Excel files you want to convert, right-click on them, and choose “Print”. This will open a print dialog box, where you can choose the “Microsoft Print to PDF” option. Click “Print” and voila – you now have a PDF version of all your selected Excel files.
Tip 2: Use an Online Converter
If you don’t have Microsoft Excel installed on your computer, or if you simply prefer an online solution, there are plenty of websites that offer free Excel to PDF conversion services. Some popular options include SmallPDF, Zamzar, and Online-Convert.com. Simply upload your Excel file to the website, choose the PDF output format, and click “Convert” – it’s that easy!
One of the benefits of using an online converter is that you can access it from any device with an internet connection, making it a great option for people who work on the go. Additionally, most online converters also offer a range of other file conversion options, so you can easily convert all your documents in one place.
Tip 3: Convert Excel to PDF with a Macro
If you’re a more advanced user, you can also use a macro to automate the process of converting Excel to PDF. To do this, you’ll need to have some basic programming skills, as well as Microsoft Excel installed on your computer.
A macro is a set of instructions that you can record and play back in Excel. To create a macro that converts your Excel document to PDF, follow these steps:
- Open your Excel document and navigate to the “Developer” tab. If this tab is not visible, you can enable it by going to File > Options > Customize Ribbon, and checking the box next to “Developer”.
- Click on “Record Macro” and give your macro a name and description. Choose a shortcut key if you want, and click “OK”.
- Perform the actions you want to automate – in this case, go to File > Save As, and choose PDF from the drop-down menu. Click “Save”, and then stop the macro recording by clicking on the square “Stop Recording” button in the Developer tab.
- To run the macro, simply press the shortcut key you specified, or go to the Developer tab and click “Macros”, then select your macro from the list and click “Run”.
Using a macro to convert your Excel documents to PDF can save you time and effort, especially if you need to convert large numbers of files on a regular basis.
FAQs
Q: Can I convert Excel to PDF on my mobile device?
A: Yes, there are a number of mobile apps that allow you to convert Excel documents to PDFs. Some popular options include PDF Converter, iLovePDF, and PDF Converter Ultimate. Simply download the app, import your Excel document, choose PDF as the output format, and click “Convert”.
Q: Is there a way to customize the formatting of my Excel to PDF conversion?
A: Yes, many Excel to PDF converters offer customization options to allow you to tweak the layout and formatting of your PDF document. Some options may include resizing pages, adding watermarks, and adjusting image quality. Explore the settings menu of your chosen converter to see what options are available.
Video Tutorial: How to Convert Excel to PDF
For a visual guide to converting Excel to PDF, check out this helpful tutorial on YouTube:

