Are you having trouble creating a CSV file from MS Excel to upload to EMIS PENDIS? You’re not alone. Many people struggle with this task, but with our step-by-step guide, you’ll be able to create a CSV file in no time. Before we dive into the guide, let’s first understand what a CSV file is and why it’s important for EMIS PENDIS.
What is a CSV File?
CSV stands for Comma Separated Values. As the name suggests, it’s a file format that stores data in a tabular format with each column separated by commas. This file format is commonly used for importing and exporting data between different software programs.
Why is a CSV File Important for EMIS PENDIS?
EMIS PENDIS (Education Management Information System) is a database used by the Indonesian government to manage education data. It’s used to track student attendance, grades, and other important information. EMIS PENDIS requires data to be uploaded in a specific format, which is the CSV file format. Therefore, it’s important that you know how to create a CSV file to upload data to EMIS PENDIS.
How to Create a CSV File from MS Excel for EMIS PENDIS
Follow the steps below to create a CSV file from MS Excel for EMIS PENDIS:
Step 1: Prepare your Data in Excel
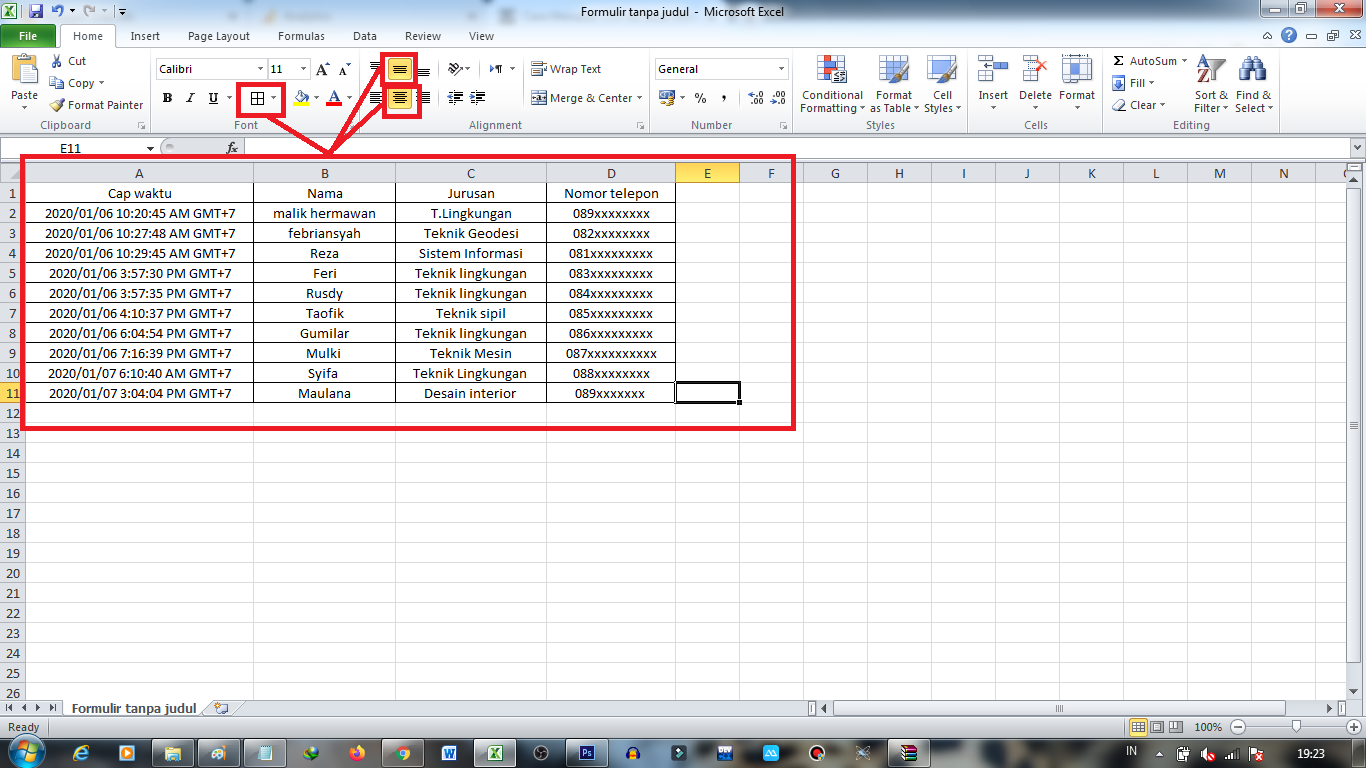
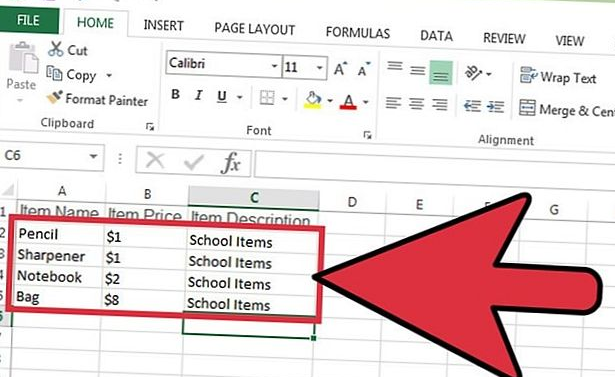
Before you can create a CSV file, you need to have your data ready in Excel. Make sure that each column has a header, and that each row corresponds to a unique record. You’ll also want to remove any unnecessary data or formatting.
Step 2: Save the File as CSV
To save your Excel file as a CSV file, follow these steps:
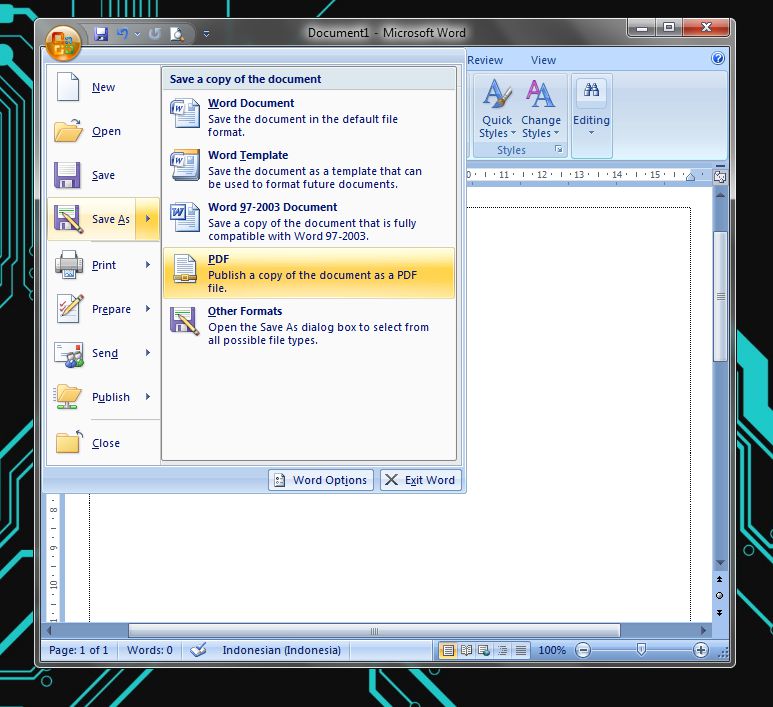
- Click on File > Save As.
- Enter a file name for your CSV file.
- Choose “CSV (Comma delimited) (*.csv)” as the file type.
- Click on Save.
- Excel will show a warning message that says “The selected file type does not support workbooks that contain multiple sheets.” Click on OK.
- A “Export to CSV” window will appear. Make sure “Unicode (UTF-8)” is selected as the encoding.
- Click on OK.
Step 3: Review and Edit the CSV File
Open the CSV file in a text editor, such as Notepad or Notepad++. You’ll notice that the data is separated by commas, and each row is on a new line. You can edit the CSV file directly in the text editor to make any necessary changes.
Step 4: Upload the CSV File to EMIS PENDIS
Once you’ve edited the CSV file, save it and upload it to EMIS PENDIS. Make sure that you’ve followed all the instructions on the EMIS PENDIS website to ensure that your data is uploaded correctly.
Frequently Asked Questions (FAQ)
Q: Can I edit the CSV file after uploading it to EMIS PENDIS?
A: No, once the CSV file is uploaded to EMIS PENDIS, it cannot be edited. You’ll need to create a new CSV file and upload it again.
Q: Can I use any text editor to edit the CSV file?
A: Yes, you can use any text editor to edit the CSV file. However, we recommend using a specialized text editor, such as Notepad++ or Sublime Text, as they have features that make editing CSV files easier.
Video Tutorial: How to Create a CSV File from MS Excel for EMIS PENDIS
Below is a video tutorial that demonstrates the steps outlined above:
Conclusion
Creating a CSV file from MS Excel for EMIS PENDIS may seem daunting, but with our guide, you’ll be able to create a CSV file in no time. Remember to prepare your data in Excel, save the file as CSV, review and edit the CSV file in a text editor, and upload the CSV file to EMIS PENDIS. If you have any questions or run into any issues, don’t hesitate to contact EMIS PENDIS support.
Image Sources:
Cara Membuat file CSV dari MS Excel Untuk di Upload ke EMIS PENDIS
Cara Membuat File Pdf Untuk Lamaran Kerja – Caresizsiniz.com
Cara Merapikan File CSV Pada Excel Menjadi Berkolom – Belajar Microsoft
3 Cara Membuat File CSV Pajak, PPN, Kontak DLL – Caraqu


