Asus laptops are among the most popular and reliable laptops out there. They are highly versatile and can be used for a wide range of tasks from work to entertainment. Installing Windows on a laptop can be daunting, but with the right knowledge and tools, it’s a relatively straightforward process that can be done quickly and easily. In this article, we’ll walk you through the steps to install Windows on an Asus laptop.
Preparing the Installation Media
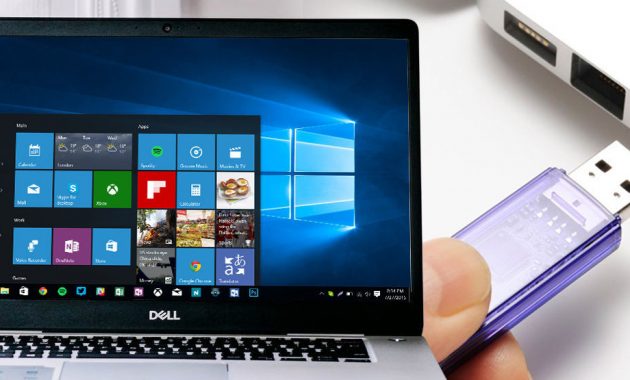
The first step in installing Windows on an Asus laptop is to prepare the installation media. This can be in the form of a USB drive or DVD. We recommend using a USB drive as it’s faster and more convenient. Here are the steps to prepare the installation media:
- Download the Windows ISO file from the official Microsoft website. Make sure to download the correct version of Windows that corresponds to your Asus laptop.
- Insert a USB drive with at least 8GB of storage into your computer. Make sure to backup any important data on the USB drive as it will be formatted during the process.
- Download and install the Windows USB/DVD Download Tool from Microsoft.
- Open the Windows USB/DVD Download Tool and select the ISO file you downloaded in step 1. Select the USB drive you inserted in step 2 and click “Begin copying”.
- The tool will format the USB drive and copy the Windows files to it. This process may take several minutes depending on the speed of your computer and USB drive.
Installing Windows on an Asus Laptop
Once you have prepared the installation media, you can begin the process of installing Windows on your Asus laptop. Follow these steps:
- Insert the USB drive into your Asus laptop and restart it. Press the key on your keyboard that takes you to the boot menu. This key varies depending on your laptop model but is usually F2, F10, or F12.
- Select the USB drive from the boot menu and press Enter.
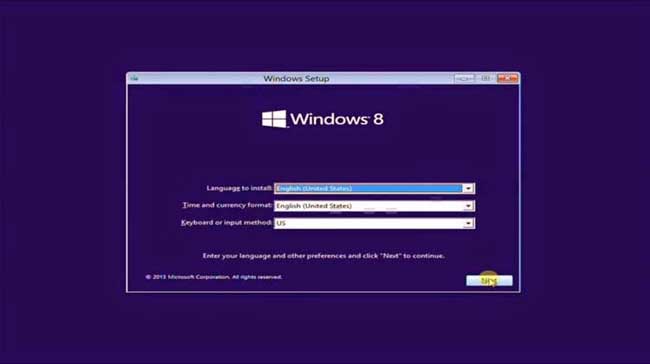
- The Windows installation process will begin. Follow the on-screen instructions to select your language, time zone, and keyboard layout.
- When you reach the screen that asks “Which type of installation do you want?”, select “Custom: Install Windows only (advanced)”.
- Select the partition or drive where you want to install Windows. If you want to install Windows on the entire disk, select “Drive 0 Unallocated Space”.
- Click “Next” and wait for the installation process to complete. This may take several minutes depending on the speed of your laptop.
- Once the installation is complete, your Asus laptop will restart. Follow the on-screen instructions to set up your user account and other settings.
FAQs
Here are some frequently asked questions about installing Windows on an Asus laptop:
1. Can I install Windows on an Asus laptop if it already has an operating system installed?
Yes, you can. However, you will need to format the partition or drive where you want to install Windows. This will erase all data on that partition or drive, so make sure to back up any important files before proceeding.
2. Can I install Windows on an Asus laptop if I don’t have a product key?
You can install Windows without a product key, but Windows will be in trial mode and will ask for a product key after the trial period ends. You can purchase a product key from Microsoft or from a third-party retailer. Alternatively, you can use free activation methods available online, but we don’t recommend this as it may be illegal and can cause security issues.
Video Tutorial

