Windows 7 is an operating system developed by Microsoft, released in 2009. Despite its age, many people still prefer it over newer versions of Windows due to its simplicity and stability. If you’re looking to install Windows 7, there are two main methods you can use: with a CD or with a flash drive. In this article, we’ll take you through the steps to install Windows 7 using both methods.
Installing Windows 7 with a CD
The first method we’ll cover is installing Windows 7 using a CD. Here are the steps you need to follow:
Step 1: Gather Your Equipment
To install Windows 7 using a CD, you’ll need a few things:
- Windows 7 installation CD
- A computer that’s capable of running Windows 7
- A CD/DVD drive that can read the installation disc
Make sure you have everything you need before you start the installation process.
Step 2: Backup Your Data
Before you install Windows 7, it’s a good idea to back up all your important data. This way, if anything goes wrong during the installation process, your data will still be safe.
Step 3: Insert the CD and Restart Your Computer
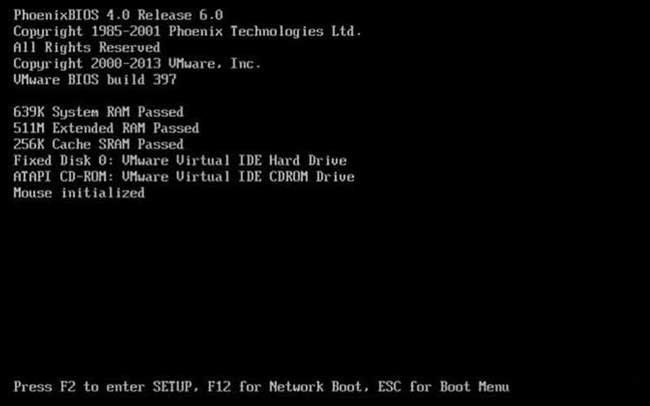
Put the Windows 7 installation CD in the CD/DVD drive, then restart your computer. Make sure your computer is set to boot from the CD/DVD drive in the BIOS settings. If it’s not, you’ll need to do that first. Once your computer boots from the CD, you’ll see a message asking whether you want to boot from the CD. Press any key to proceed.
Step 4: Choose Your Language and Other Preferences
Next, you’ll be asked to choose your language and other preferences, such as time zone and keyboard layout. Choose the options you want, then click “Next” to continue.
Step 5: Install Windows 7
You’ll see the Windows 7 installation screen. Click “Install now” to start the installation process. Follow the on-screen instructions to install Windows 7. You’ll be asked to accept the license terms, choose your hard drive, and enter your product key. Make sure to enter the correct product key, which should be included with your copy of Windows 7.
Step 6: Wait for the Installation to Finish
The installation process can take some time, so be patient. Your computer will restart several times during the installation process. Don’t interrupt the installation process, as this can cause problems. When the installation is complete, you’ll be asked to set up your user account and password.
Installing Windows 7 with a Flash Drive
If you don’t have a CD drive, or you prefer to use a flash drive, you can also install Windows 7 using a USB drive. Here’s how:
Step 1: Gather Your Equipment
To install Windows 7 using a flash drive, you’ll need a few things:
- Windows 7 installation file (ISO file)
- A computer that’s capable of running Windows 7
- A USB drive with at least 4 GB of free space
Make sure you have everything you need before you start the installation process.
Step 2: Create a Bootable USB Drive
To make a bootable USB drive, you’ll need to use a tool like Rufus. Download and install Rufus, then open it up. Select your USB drive under “Device” and choose the Windows 7 ISO file under “Boot selection”. Click “Start” to begin creating the bootable USB drive.
Step 3: Insert the USB Drive and Restart Your Computer
Put the USB drive in a USB port on your computer, then restart your computer. Make sure your computer is set to boot from the USB drive in the BIOS settings. If it’s not, you’ll need to do that first. Once your computer boots from the USB drive, you’ll see a message asking whether you want to boot from the USB drive. Press any key to proceed.
Step 4: Choose Your Language and Other Preferences
Next, you’ll be asked to choose your language and other preferences, such as time zone and keyboard layout. Choose the options you want, then click “Next” to continue.
Step 5: Install Windows 7
You’ll see the Windows 7 installation screen. Click “Install now” to start the installation process. Follow the on-screen instructions to install Windows 7. You’ll be asked to accept the license terms, choose your hard drive, and enter your product key. Make sure to enter the correct product key, which should be included with your copy of Windows 7.
Step 6: Wait for the Installation to Finish
The installation process can take some time, so be patient. Your computer will restart several times during the installation process. Don’t interrupt the installation process, as this can cause problems. When the installation is complete, you’ll be asked to set up your user account and password.
Frequently Asked Questions
Q: Do I need to enter a product key during the installation process?
A: Yes, you’ll need to enter a product key to activate Windows 7. Make sure to enter the correct product key, which should be included with your copy of Windows 7.
Q: Can I upgrade from Windows XP to Windows 7?
A: Yes, you can upgrade from Windows XP to Windows 7. However, you’ll need to perform a custom installation, which means you’ll need to backup all your data and reinstall your programs.
Video Tutorial: How to Install Windows 7
Conclusion
That’s it! Now you know how to install Windows 7 using both a CD and a flash drive. If you follow these steps, you should be able to install Windows 7 without any problems. Just remember to back up your data before you start the installation process, and make sure to enter the correct product key during the installation process. If you have any questions or concerns, feel free to reach out to us for help.

