Printing from Excel may seem like a simple task, but there are several things to consider to ensure that your document is printed correctly. In this article, we will discuss some tips and tricks to help you print your Excel document seamlessly, regardless of the operating system you are using.
Cara Print Excel di OS Windows dan Mac
When printing from Excel on a Windows or Mac operating system, follow these simple steps to ensure that your document is printed correctly.
- Open the Excel document you want to print.
- Click the File tab in the top-left corner of the screen.
- Select Print from the menu on the left side of your screen.
- Check the settings to make sure everything is set up correctly for your document.
- Click Print to print your document.
If you encounter any problems while printing your Excel document, try the following troubleshooting tips:
- Make sure your printer is properly connected to your computer.
- Verify that you have the correct printer settings selected.
- Check that your printer has enough ink and paper to complete the job.
- If your document prints incorrectly, try opening it in a different software program, such as OpenOffice or Google Sheets.
Cara Print Excel Agar Tidak Terpotong
One common problem that people encounter when printing from Excel is that the document gets cut off or printed on multiple pages. To avoid this issue, follow these steps to format your Excel document correctly for printing.
- Open the Excel document you want to print.
- Select the cells you want to print by clicking and dragging your mouse over them.
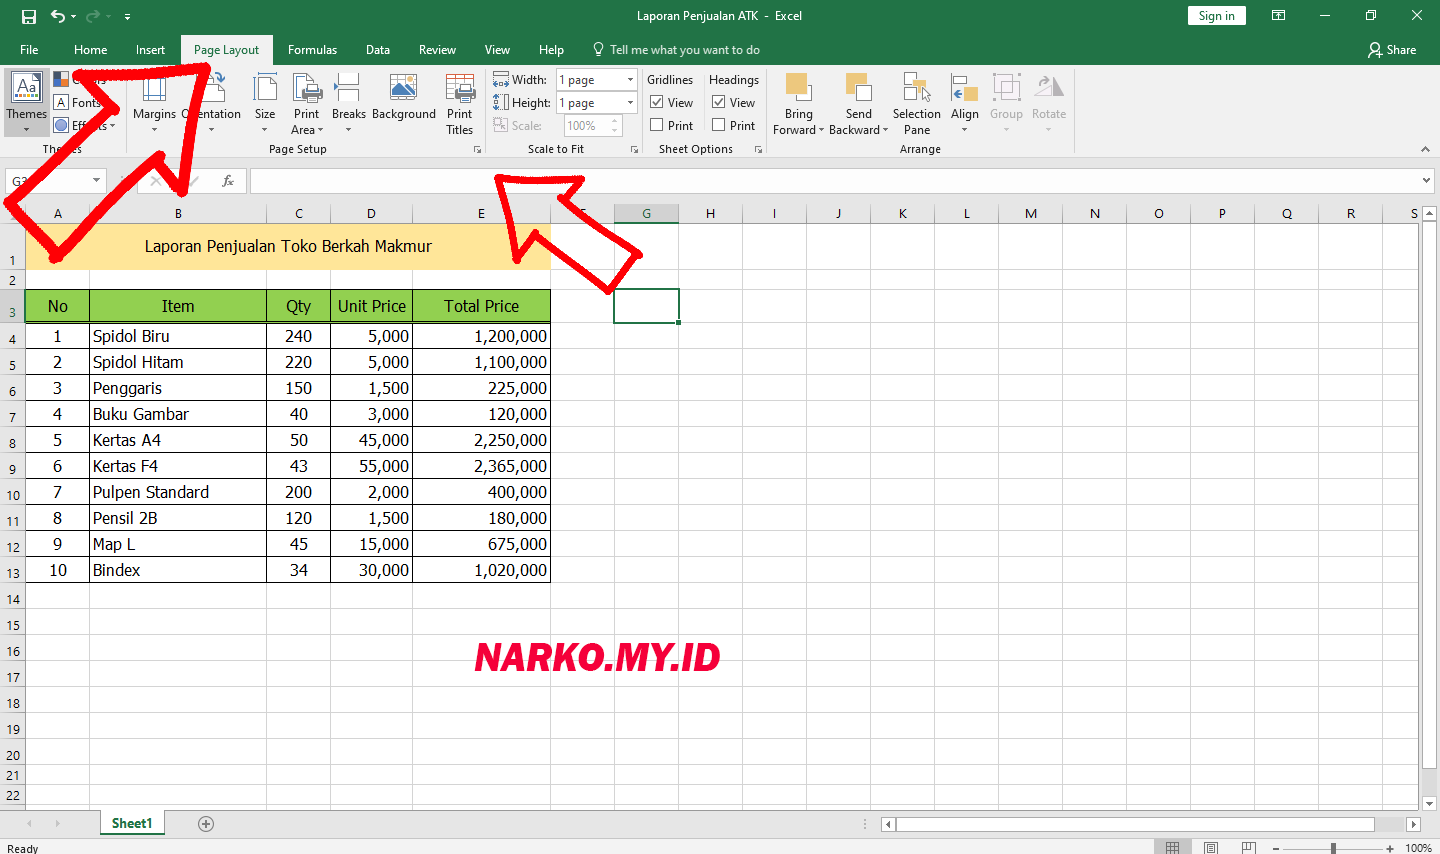
- Click the Page Layout tab at the top of the screen.
- Click the Print Area button and select Set Print Area to define the cells you want to print.
- Click the Print Titles button to configure how Excel prints the page and ensure that page breaks are configured correctly.
- Check that the Fit to option is set to 1 page wide by 1 page tall to prevent the Excel document from being printed on multiple pages or being cut off.
- Click Print to print your document.
If your document still prints incorrectly, try adjusting the Scaling option under the Page Setup tab to decrease the size of the document to fit it on one page.
FAQ
Why is my Excel document printing on multiple pages?
Your Excel document may be printing on multiple pages if it is not properly formatted for printing. To ensure that your document is printed on one page, select the cells you want to print, adjust the page layout settings, and check that the Fit to option is set to 1 page wide by 1 page tall.
Why is my Excel document getting cut off when I print it?
If your Excel document is getting cut off when you print it, it is likely that your page breaks are not configured correctly. To avoid this issue, make sure you have correctly defined the print area, set the print titles, and configured the page breaks. Check that the Fit to option is set to 1 page wide by 1 page tall and try adjusting the Scaling option under the Page Setup tab to decrease the size of the document.
Video Tutorial: Cara Print Halaman Tertentu di Excel (Print 1 Lembar)
