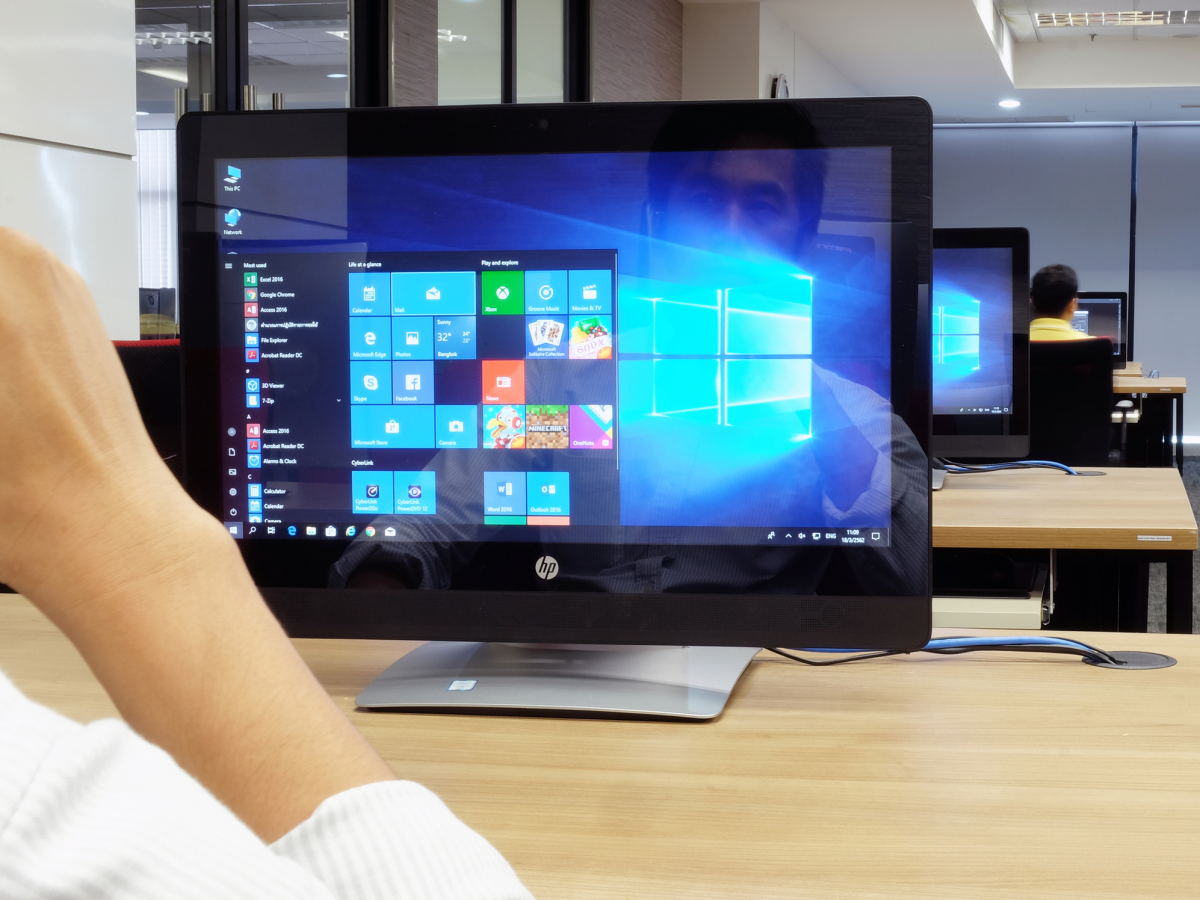
Recording the screen of your laptop is a handy feature that can help you capture important moments on your device. Whether you’re recording a presentation, gameplay, or a tutorial, there are plenty of reasons why you might want to record your laptop screen. Fortunately, you don’t need any fancy software to do it. In fact, there are ways to record your screen natively within Windows 10, without downloading any external apps. Here’s how:
Method 1: Using the Game Bar
The first method is to use the Game Bar that comes built-in with Windows 10. This feature is primarily intended for gamers to capture gameplay footage, but it can also be used to record anything on your screen.
- Press the Windows key + G on your keyboard to open the Game Bar.
- Click on the “Record” button or press the Windows key + Alt + R to start recording.
- Your screen will automatically start recording. To stop recording, click on the “Stop” button or press the Windows key + Alt + R again.
- Your recorded video will be saved in your Videos folder, under a folder called “Captures”.
Note that the Game Bar only works with certain applications and games. If you’re unable to use the Game Bar to record your screen, you might need to try a different method.
Method 2: Using PowerPoint
Another way to record your screen is by using PowerPoint. This might seem like an unusual method, but it’s actually quite effective and can be used to record anything on your screen.
- Launch PowerPoint and click on the “Insert” tab.
- Click on the “Screen Recording” option in the “Media” group.
- Click and drag the cursor to select the area of your screen that you want to record.
- Click on the red “Record” button to start recording.
- To stop recording, click on the “Stop” button in the system tray.
- Your recorded video will be inserted into your PowerPoint presentation, but you can also save it as a separate video file if you want.
One advantage of using PowerPoint to record your screen is that it allows you to add annotations and highlights to your video, which can be useful for tutorials or presentations.
Frequently Asked Questions
1. Can I record my screen without any software?
Yes, you can record your screen without downloading any external software, as shown in the methods above. Windows 10 comes with built-in recording features that allow you to capture anything on your screen.
2. Can I record my screen and include audio?
Yes, you can include audio in your screen recordings. When using the Game Bar, there is an option to include audio from your microphone and system audio. When using PowerPoint, you can also choose to include audio from your microphone.
Conclusion
Recording your laptop screen can be useful in many situations, and fortunately, you don’t need any expensive software to do it. By using the built-in recording features in Windows 10, you can easily capture anything on your screen. Whether you’re presenting a tutorial, recording gameplay, or creating a video, these methods are simple and effective.

