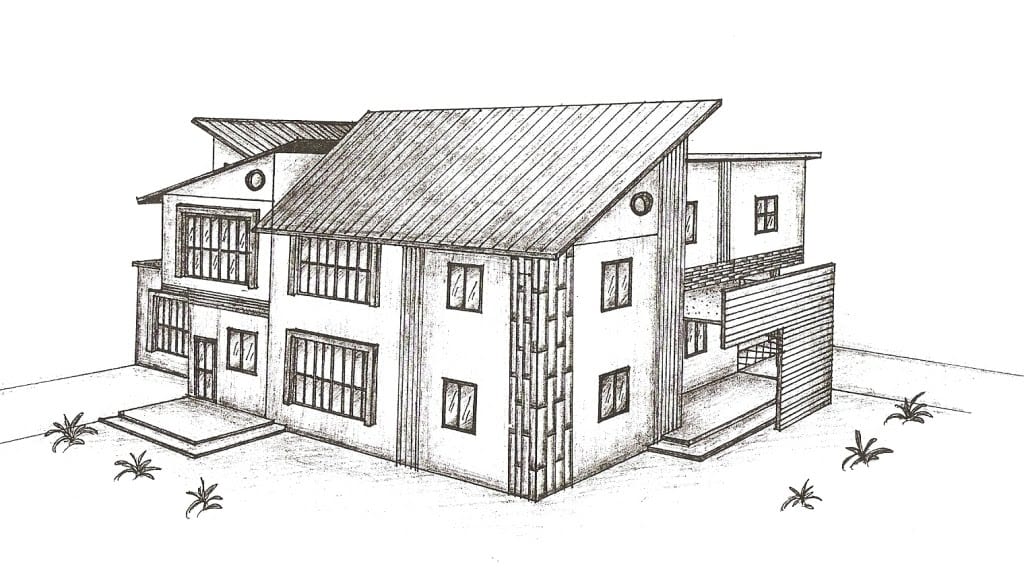
As technology advances, we can now use various tools to create designs, including Excel. Yes, with a little creativity and imagination, you can create great building sketches with Excel! In this article, we will learn about creating building sketch using MS Excel and how it can be done easily.
Cara Membuat Sketsa Bangunan Dengan MS Excel
Sketching a building in Excel is not a difficult task as you might think. Here are some easy steps to follow.
Step 1: Create a Grid
The first step in creating a building sketch is to create a grid. To do this, you can use the cell borders feature in Excel. Simply click on the ‘Home’ tab and select the ‘Border’ option in the ‘Font’ section. Select the cells that you want to include in the grid, and then click on the ‘All Borders’ option. This will create a grid in the selected cells.
Now you can start sketching your building by adding and removing lines within the grid cells. The grid will help you visualize where everything should go and ensure that your building sketch is accurate.
Step 2: Add Walls and Windows
The next step is to add walls and windows to your building sketch. You can do this by drawing a line using the ‘Shapes’ feature in Excel. Simply click on the ‘Insert’ tab and select ‘Shapes’ in the ‘Illustrations’ section. Select the line shape and draw a line where you want to add a wall or a window.
You can adjust the line thickness and color to make it look like a real wall or window. Repeat this step to add walls and windows to your building sketch. It is recommended to use different colors for different elements to make it easy to determine the various parts of the building.
Step 3: Add Doors and Roof
Once you have added walls and windows to your building sketch, it is time to add doors and a roof. You can draw a door using the same ‘Shapes’ feature in Excel. Simply select the rectangle shape and draw a rectangle where you want to add a door. You can adjust the shape size and color to fit your design.
To add a roof, draw a triangle shape using the ‘Shapes’ feature, and place it on top of the walls. Adjust the size and color to match your design.
Step 4: Finalize Your Building Sketch
Finally, once you have added all the necessary elements to your building sketch, it is time to finalize it. You can add shadows and other effects to give your building sketch a more realistic look.
Make sure to save your file frequently as you go along, so you don’t lose any progress.
FAQ
Q: Can I use Excel to create other types of designs besides buildings?
A: Yes, you can create various types of designs using Excel, such as logos, charts, graphs, and more. Excel is a versatile tool that can be used for various purposes.
Q: Is it better to use a specialized design tool instead of Excel?
A: It depends on your needs and preferences. If you are looking for advanced design features, a specialized design tool may be more appropriate. However, if you are just starting and want to learn design basics, Excel can be a great tool to begin with.
Video Tutorial: How to Create Building Sketch with MS Excel
And there you have it! By following these simple steps, you can create a building sketch using MS Excel. Excel may not be the most popular tool for designing, but it can be a great starting point for beginners who want to learn design basics.
Remember to always save your file frequently and add shadows for a more realistic look. Don’t be afraid to experiment and try out new things. Who knows, you might create the next big thing in building design!


