Are you having trouble printing your Excel files? Don’t worry, we’ve got you covered! In this article, we will guide you through the process of printing your Excel files, ensuring that they come out perfectly and with ease. Read on for our step-by-step guide.
Step 1: Adjust Your Page Layout
The first thing you need to do is adjust your page layout. This will ensure that your Excel file prints correctly on your chosen paper size. Here’s how you can do it:
1. Click on the “Page Layout” tab on the ribbon.
2. In the “Page Setup” group, click on the “Size” button and select your desired paper size.
3. In the same group, click on the “Print Area” button and select the range of cells that you want to print.
4. Finally, click on the “Margins” button and adjust your margins if necessary.
Step 2: Preview Your File
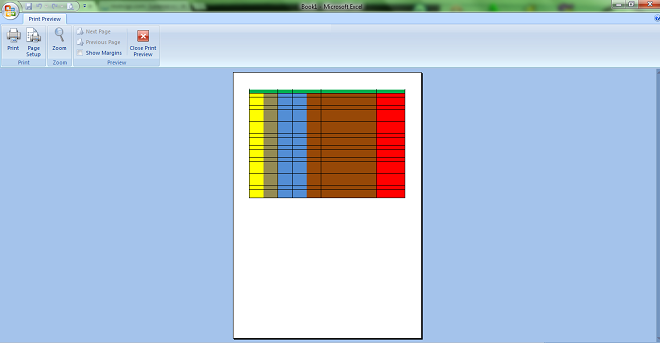
Before you print your file, it’s always a good idea to preview it first. This allows you to check that everything is in order and that your file will print exactly how you want it to. Here’s how to do it:
1. Click on the “File” tab and select “Print.”
2. In the “Settings” section, click on “Print Preview.”
3. Check that everything looks correct and adjust your settings if necessary.
4. Once you’re happy with your preview, you can proceed to print your file.
Frequently Asked Questions
1. Why is my Excel file not printing?
If your Excel file is not printing, there could be a few different reasons for this. Here are some things to check:
– Is your printer turned on and connected to your computer?
– Have you selected the correct printer?
– Is your printer driver up to date?
– Is there enough paper and ink in your printer?
If you’ve checked all of the above and your Excel file still won’t print, try saving it as a PDF and then printing the PDF file.
2. How do I print only certain parts of my Excel file?
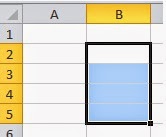
If you only want to print certain parts of your Excel file, you can do this by selecting the range of cells you want to print before you print the file. Here’s how:
1. Select the range of cells you want to print.
2. Click on the “File” tab and select “Print.”
3. In the “Settings” section, click on “Print Selection” and then click “Print.”
This will print only the selected range of cells.
Video Tutorial
Still having trouble? Check out this video tutorial on how to print your Excel files:
Conclusion
Printing your Excel files can be a breeze once you know the right steps to take. By following our guide and adjusting your page layout and previewing your file, you can save time and ensure that your files come out perfectly every time. And, if you run into any issues or have any further questions, you now have our FAQ and video tutorial to help you out. Happy printing!


