Installing a new operating system on your computer or laptop can be a daunting task, especially if you are not tech-savvy. However, with the help of a flash drive and a little guidance, you can perform a Windows 7 installation on your own. In this article, we will outline the steps to successfully install Windows 7 through a flash drive.
Step 1: Download the Windows 7 ISO file
The first step in the installation process is to download the Windows 7 ISO file. This file contains all the necessary files required for the installation process. You can download the ISO file from Microsoft’s official website or from a trusted third-party website. Make sure to download the correct version of Windows 7 based on your system specifications (32-bit or 64-bit).
Step 2: Create a bootable USB flash drive
After downloading the ISO file, the next step is to create a bootable USB flash drive. A bootable flash drive will allow you to boot your system from the flash drive and proceed with the installation process. You can use a tool like Rufus to create a bootable flash drive. Here are the steps to create a bootable flash drive using Rufus:
- Plug in your USB flash drive to your computer.
- Open Rufus and select your USB flash drive from the drop-down menu.
- Select the Windows 7 ISO file that you downloaded in Step 1.
- Leave all other options in Rufus at their default settings and click on the Start button.
- Wait for Rufus to finish creating the bootable USB flash drive.
Step 3: Boot your system from the USB flash drive
Now that you have created a bootable USB flash drive, the next step is to boot your system from the flash drive. Here are the steps to boot your system from the USB flash drive:
- Restart your computer or laptop.
- When the computer starts, press the key to enter the BIOS (usually F2 or Del).
- Go to the Boot tab in the BIOS and select the USB flash drive as the primary boot device.
- Save the changes in BIOS and exit.
- Your system will now boot from the USB flash drive.
Step 4: Install Windows 7
After booting from the USB flash drive, you will be prompted to begin the installation process. Here are the steps to install Windows 7:
- Select your language preferences and click on the Next button.
- Click on the Install Now button.
- Read and accept the license terms and conditions and click on the Next button.
- Select the Custom (advanced) option.
- Select your hard drive partition where you want to install Windows 7.
- Click on the Next button.
- Wait for Windows 7 to install.
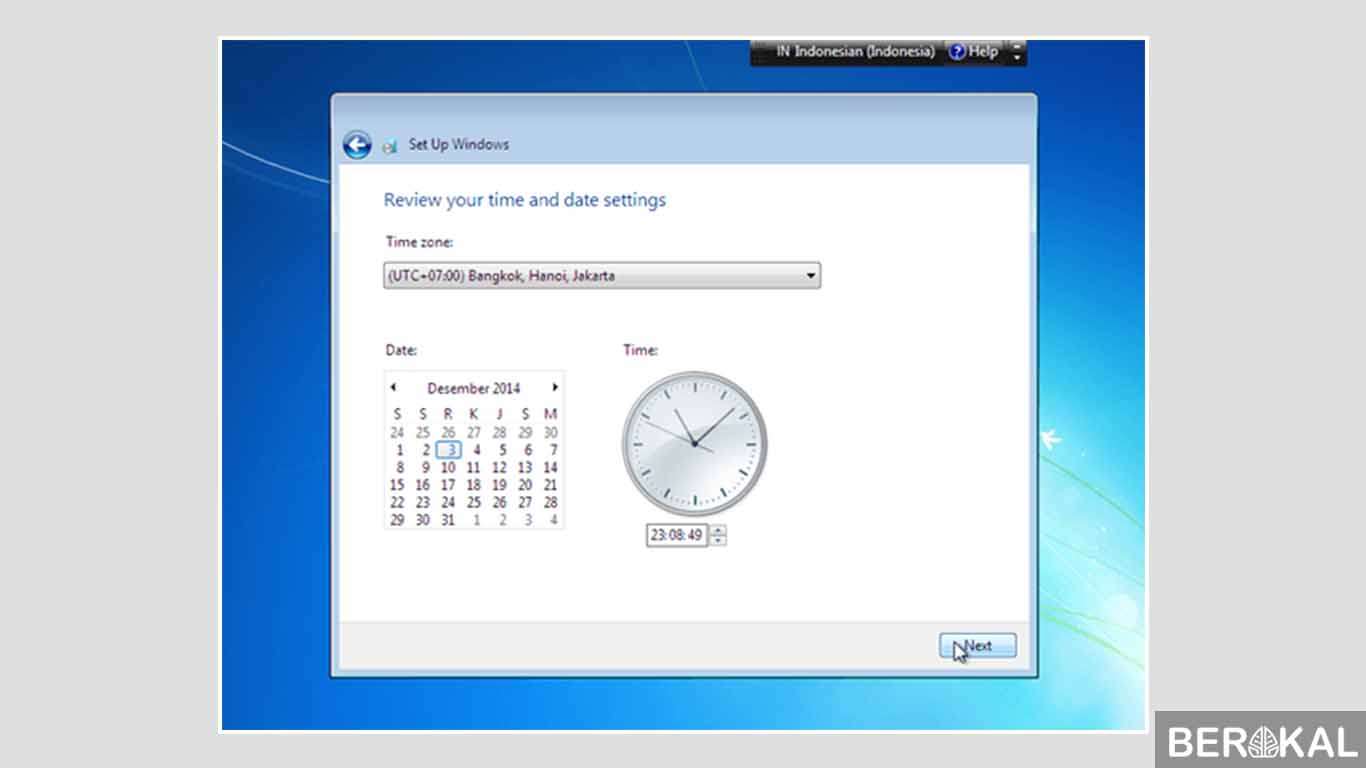
- Follow the setup wizard to configure your Windows 7 settings.
FAQ:
1. What should I do if my computer does not boot from the USB flash drive?
If your computer does not boot from the USB flash drive, you may need to change the boot order in your BIOS. Make sure that the USB flash drive is set as the primary boot device in the BIOS. If you are still having issues, try creating a new bootable USB flash drive with a different software like WinToFlash.
2. Can I upgrade from Windows XP or Vista to Windows 7 using a bootable USB flash drive?
No, you cannot upgrade from Windows XP or Vista to Windows 7 using a bootable USB flash drive. You will need to purchase a new license for Windows 7 and perform a clean installation.
Video Tutorial:
Here is a helpful video tutorial on how to install Windows 7 using a bootable USB flash drive:
By following the steps outlined in this article and video tutorial, you can successfully install Windows 7 on your computer or laptop. Whether you are upgrading from a previous version of Windows or performing a clean installation, a bootable USB flash drive can make the process much easier and faster.
