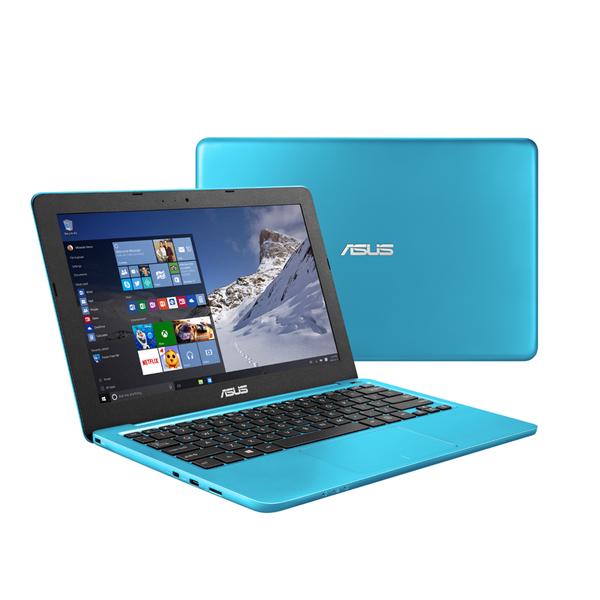
Welcome to our article about fixing common laptop issues! Today, we’ll be discussing Asus E202S laptop and how to fix some of its most common problems.
Problem 1: Cursor not showing up after install
One of the common problems with Asus E202S laptop is that the cursor may not show up after an install. Luckily, there are a few easy steps you can take to fix this problem.
Step 1: Check the touchpad
The first step you should take is to check if the touchpad is on. You may have accidentally turned it off, which can cause the cursor not to show up. To turn it back on, simply press the function key that corresponds to the touchpad (usually F7 or F9, but check your laptop manual to be sure).
Step 2: Update touchpad driver
If the touchpad is on and the cursor still doesn’t show up, you may need to update the touchpad driver. To do this, follow these steps:
- Go to the Asus website and enter your laptop’s model number.
- Find the touchpad driver in the list of available drivers and download it.
- Install the driver and restart your laptop.
Hopefully, after these steps, your cursor should show up again. If the problem persists, you may need to take your laptop in to be serviced.
Problem 2: Installing Windows 7
If you need to install Windows 7 on your Asus E202S laptop, here are the steps you should follow:
Step 1: Create a bootable USB drive
First, you will need to create a bootable USB drive to install Windows 7 from. To do this, you will need a USB drive with at least 4GB of space and the Windows 7 installation files.
- Insert the USB drive into your computer.
- Open the Windows 7 USB/DVD Download Tool and follow the instructions to create a bootable USB drive.
Step 2: Boot from the USB drive
Once you have created the bootable USB drive, you will need to boot your laptop from it. To do this, follow these steps:
- Insert the bootable USB drive into your laptop.
- Restart your laptop.
- Press the key that corresponds to your laptop’s boot options (usually F2, F8, F10, or ESC).
- Use the arrow keys to select the USB drive as the boot device.
- Press Enter to start booting from the USB drive.
Step 3: Install Windows 7
Finally, you can now install Windows 7 on your Asus E202S laptop. Follow the on-screen instructions to complete the installation process.
After completing the installation process, you may need to install drivers for your laptop’s hardware components. You can find these drivers on the Asus website.
FAQ
Q1: Can I upgrade the RAM on my Asus E202S laptop?
A: Yes, you can upgrade the RAM on your Asus E202S laptop. The maximum amount of RAM it can support is 8GB. However, keep in mind that upgrading the RAM may void your warranty, so do so at your own risk.
Q2: How can I improve the battery life on my Asus E202S laptop?
A: There are a few things you can do to improve the battery life on your Asus E202S laptop:
- Lower the screen brightness.
- Turn off unnecessary features like Bluetooth and Wi-Fi when not in use.
- Use power-saving mode.
- Disable startup programs that you don’t use.
- Use a cooling pad to prevent overheating, as overheating can drain the battery faster.
Video Guide: How to Upgrade the RAM on Asus E202S Laptop
Thanks for reading our article about fixing common Asus E202S laptop issues. We hope this information was helpful for you to troubleshoot and fix any problems you may be experiencing with your laptop.
