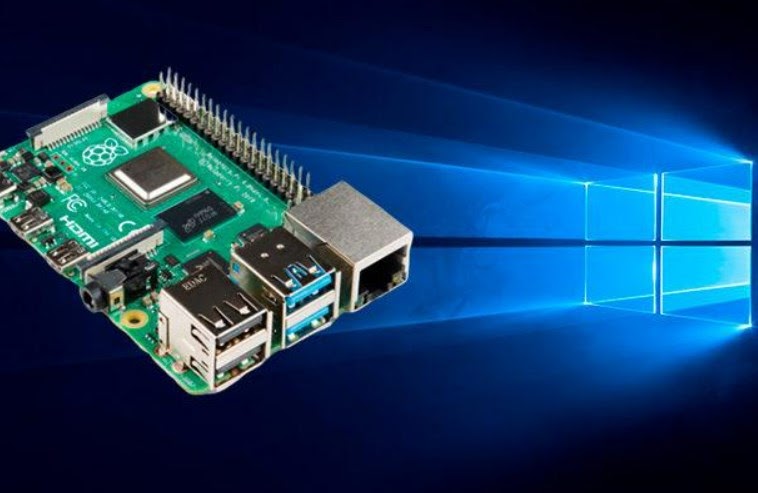
Windows 10 has been widely used by PC users all over the world since its release in 2015. It brings many new features and improvements compared to its predecessor Windows 8. However, what if we tell you that you can install Windows 10 on Raspberry Pi too? Yes, you read that right! In this article, we will guide you on how to install Windows 10 on Raspberry Pi.
Prerequisites
Before installing Windows 10 on Raspberry Pi, you need to make sure that you have the following prerequisites:
- A Raspberry Pi 2, 3, or 4 with a minimum of 4GB SD card and a micro USB cable
- Windows 10 IoT Core Dashboard Software
- A Windows PC/Laptop with Windows 10 installed
Install Windows 10 on Raspberry Pi
Here is a step-by-step guide on how to install Windows 10 on Raspberry Pi:
Step 1: Prepare your SD card
The first step is to prepare your SD card. Follow these steps:
- Insert your SD card into your PC/laptop using an SD card reader.
- Format the SD card using the SDFormatter tool. You can download it from https://www.sdcard.org/downloads/formatter/.
- Download the Windows 10 IoT Core image from the official website. You can download it from https://go.microsoft.com/fwlink/?LinkId=708576.
- Extract the downloaded image to a local folder.
- Write the image to the SD card using the Win32DiskImager tool. You can download it from https://sourceforge.net/projects/win32diskimager/.
Step 2: Connect your Raspberry Pi to your PC/Laptop
The second step is to connect your Raspberry Pi to your PC/Laptop using a micro USB cable. Here are the steps:
- Connect your Raspberry Pi to a power source using the micro USB cable.
- Connect your Raspberry Pi to your PC/Laptop using the same micro USB cable.
Step 3: Install Windows 10 using IoT Core Dashboard
The final step is to install Windows 10 on Raspberry Pi using IoT Core Dashboard. Follow these steps:
- Download and install the Windows 10 IoT Core Dashboard software from the official website. You can download it from https://developer.microsoft.com/en-us/windows/iot/getstarted/installiotcore.
- Launch the IoT Core Dashboard software on your PC/Laptop.
- Click on “Setup a new device” and select your Raspberry Pi from the list.
- Follow the instructions on the screen to install Windows 10 on Raspberry Pi.
Frequently Asked Questions
Q: What is Raspberry Pi?
A: Raspberry Pi is a small, credit-card sized computer that was designed with the intention of promoting the teaching of basic computer science in schools and developing countries. It is powered by a micro USB cable and can be connected to a monitor or TV, keyboard, and mouse. It is an affordable and versatile device that has become popular among hobbyists, students, and professionals for various projects.
Q: What is Windows 10 IoT Core?
A: Windows 10 IoT Core is a version of Windows 10 that is designed for small, embedded devices such as Raspberry Pi. It is a free, lightweight operating system that provides developers with a platform to create IoT (Internet of Things) applications and devices.
Conclusion
Installing Windows 10 on Raspberry Pi is a simple process that requires a few prerequisites. By following the step-by-step guide in this article, you can install Windows 10 on Raspberry Pi and start developing IoT applications and devices. Raspberry Pi is a versatile device that has many applications, and Windows 10 IoT Core provides developers with an easy to use platform to create those applications.
Video Tutorial: How to Install Windows 10 on Raspberry Pi
References
- https://developer.microsoft.com/en-us/windows/iot/getstarted/rpi/
- https://www.raspberrypi.org/products/raspberry-pi-4-model-b/
- https://www.windowscentral.com/how-install-windows-10-iot-raspberry-pi-3


