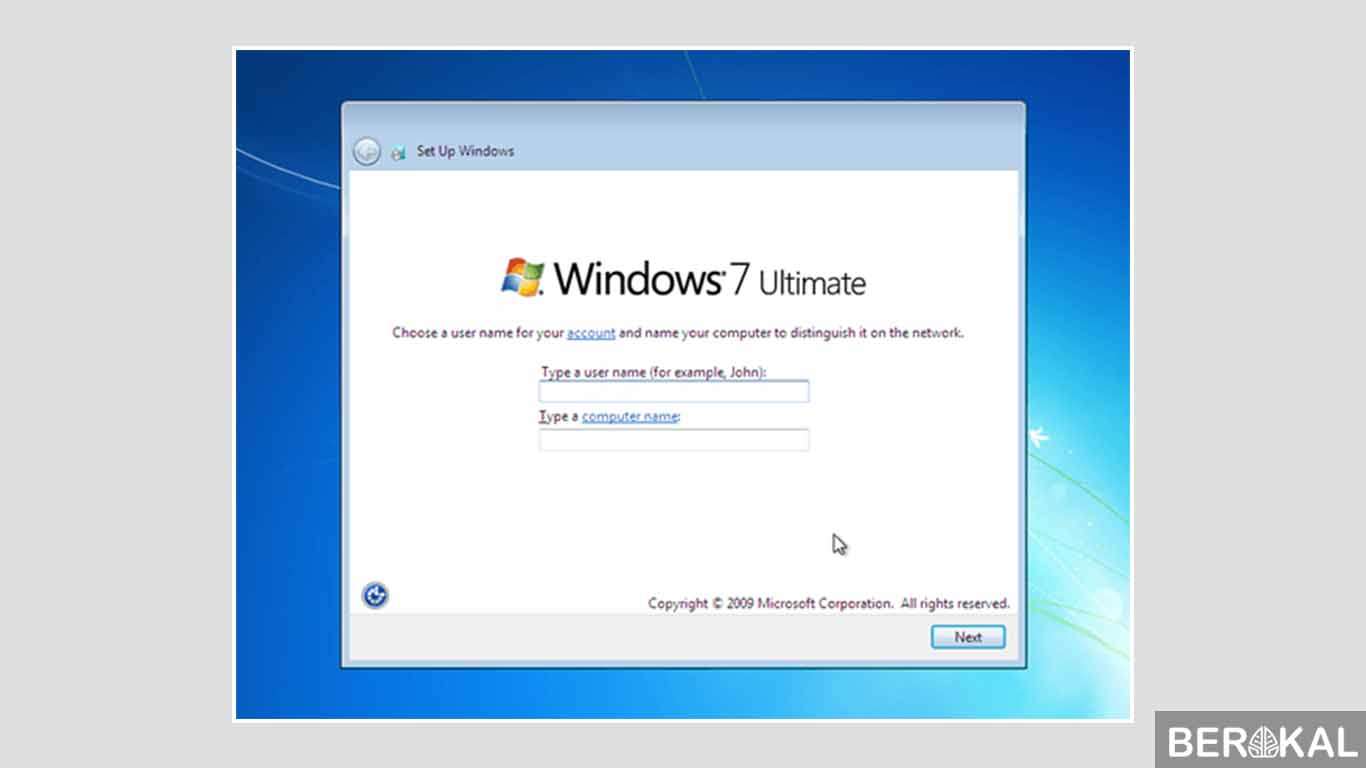
Installing Windows 7 can be a daunting task for some, especially if they are not tech-savvy. Fortunately, with the help of this guide, you can learn how to install Windows 7 using a flash drive, without having to rely on a CD. Follow these simple steps to get started:
 Step 1
The first thing you need to do is download the Windows 7 ISO file from Microsoft’s website. You’ll also need a flash drive that has at least 4GB of storage. Once you have these two things, you can move on to the next step.
 Step 2
Insert the flash drive into a USB port on your computer. Open up the Command Prompt by typing “cmd” into the Start menu search bar and pressing Enter. Type the following commands, one at a time, pressing Enter after each one:
diskpart
list disk
select disk X (where X is the number of your flash drive, as listed in the previous command)
clean
create partition primary
select partition 1
active
format fs=NTFS
assign
exit
 Step 3
Now that the flash drive is formatted and ready, open up the Windows 7 ISO file you downloaded earlier and copy all of the files onto the flash drive. Wait for the files to finish copying before ejecting the flash drive.
Congratulations, you’ve successfully created a bootable flash drive that you can use to install Windows 7!
Frequently Asked Questions
Q: Do I need a license key to install Windows 7?
A: Yes, you will need a valid license key in order to activate your copy of Windows 7 after installation. You can purchase a license key from Microsoft or from a third-party retailer.
Q: Can I upgrade from Windows XP or Vista to Windows 7 using this method?
A: No, this method is only for a clean install of Windows 7. If you want to upgrade from an older version of Windows, you’ll need to purchase an upgrade license from Microsoft.
Video Tutorial: How to Install Windows 7 Using a Flash Drive
For those of you who prefer a visual guide, here’s a helpful video tutorial:
 Step 1
 Step 2
 Step 3