When it comes to installing Windows on your computer, there are various ways to do it. One of the most popular methods is by using a USB drive, also known as a flash drive. In this article, we’ll discuss how to install Windows using a USB drive and provide step-by-step instructions, along with images and a video guide.
Installing Windows with a USB drive
Before we get started, make sure you have a computer with an internet connection, a USB drive that’s at least 8GB in size, and a valid Windows 7, 8, or 10 product key.
Step 1: Download the Windows ISO file
The first step is to download the Windows ISO file from Microsoft’s website. This is the file that contains everything you need to install Windows on your computer. Go to Microsoft’s website and click on the “Download tool now” button. This will download the Windows 10 Media Creation Tool to your computer.
Step 2: Create a bootable USB drive
Once you’ve downloaded the Windows ISO file, you’ll need to create a bootable USB drive. To do this, you can use a program called Rufus. Go to Rufus’ website and download the latest version of the program.
Insert your USB drive into your computer and run Rufus. Select your USB drive in the “Device” dropdown menu, then click on the “Select” button next to “Boot selection” and choose the Windows ISO file you downloaded in Step 1.
Leave the default settings as they are and click on the “Start” button. Rufus will now format your USB drive and create a bootable USB drive with the Windows ISO file on it. This process may take a few minutes, depending on the speed of your computer and USB drive.
Step 3: Install Windows from the USB drive
After you’ve created the bootable USB drive, it’s time to install Windows on your computer. Insert the USB drive into your computer and restart your computer.
While your computer is starting up, press the key that will take you to the boot menu. This key varies depending on your computer’s brand and model, but it’s usually F12 or ESC. Once you’re in the boot menu, select the USB drive and press Enter to boot from it.
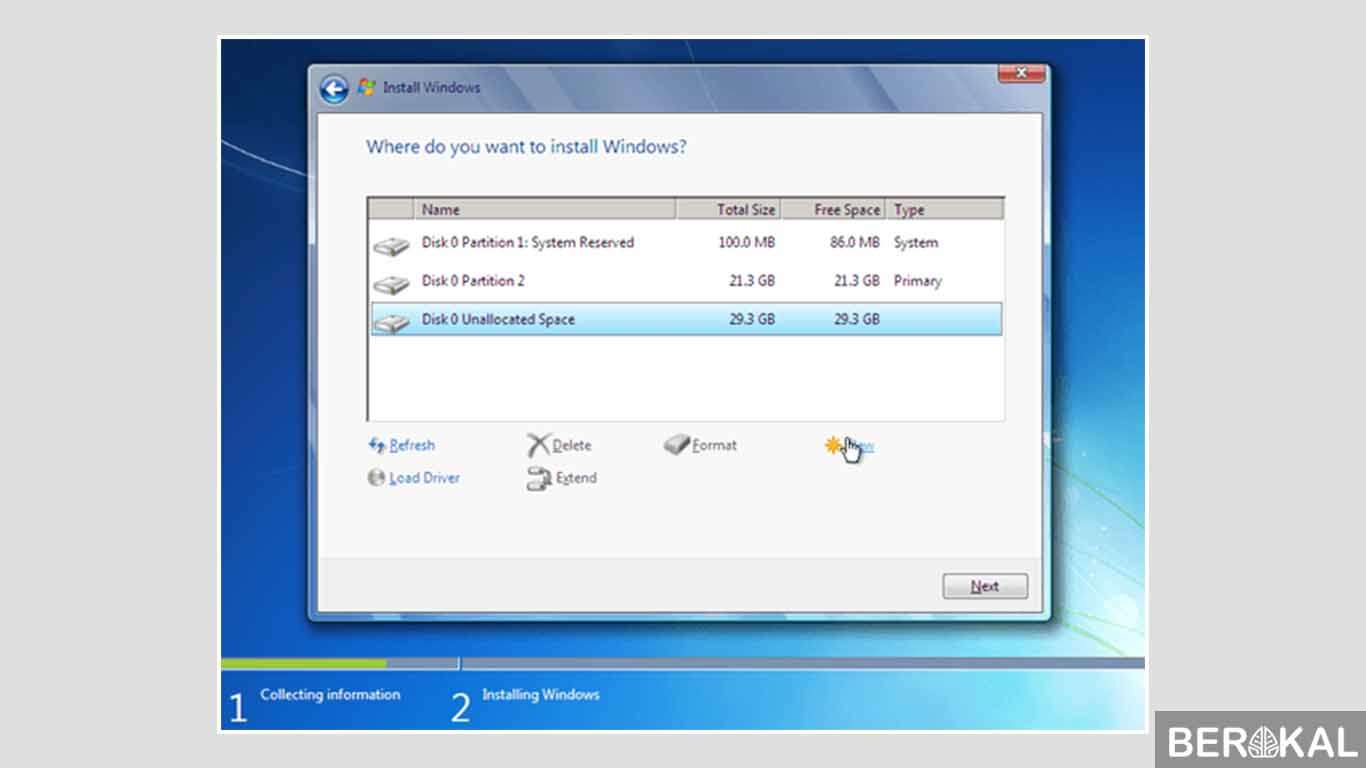
Windows setup will now start. Follow the prompts to select your language, time zone, and keyboard type. Then, enter your product key when prompted. Next, select the version of Windows you want to install and choose where you want to install it.
Once you’ve chosen your installation options, click on the “Install” button. Windows setup will now begin installing Windows on your computer. This process may take some time, so be patient. Once the installation is complete, your computer will restart and you’ll be ready to use Windows.
FAQs
Q1: Can I use a USB drive to install any version of Windows?
A1: No, you cannot. The version of Windows you can install from a USB drive depends on the product key you have. You’ll need a product key for the specific version of Windows you want to install.
Q2: Can I use a USB drive to install Windows on multiple computers?
A2: Yes, you can. However, you’ll need a separate product key for each computer you want to install Windows on.
Video guide
Installing Windows using a USB drive is a straightforward process that anyone can do. By following this guide, you can easily install Windows on your computer and get started using it. If you have any questions or run into any problems during the installation process, feel free to consult Microsoft’s website or seek help from a professional.


