Windows 7 is one of the most popular operating systems in use today, and for good reason. It’s easy to use, stable and reliable. However, over time, your computer may become sluggish, unstable or prone to errors, and you may need to reinstall Windows 7 to get it working properly again.
Step by Step Guide to Reinstalling Windows 7 with ISO File and Flashdisk
Reinstalling Windows 7 on your computer can seem like a daunting task, especially if you have never done it before. However, with this step by step guide, you can easily reinstall Windows 7 with an ISO file and a flashdisk.
Before we begin, ensure that you have prepared a flashdisk and downloaded an ISO file for Windows 7. If you haven’t yet, you can download one from Microsoft’s website or other reliable sources.
Step 1: Backup Your Data
The first thing you need to do is to back up your important data, including documents, music, videos, and pictures. You can do this by copying the files to an external hard drive, cloud storage, or another computer.
Step 2: Create a Bootable Flashdisk
Next, you need to create a bootable flashdisk with Windows 7 ISO file on it. You can use the Windows 7 USB/DVD Download Tool from Microsoft to create a bootable flashdisk, or you can use other third-party software like Rufus or WinToFlash.
Step 3: Change Your Boot Order in BIOS
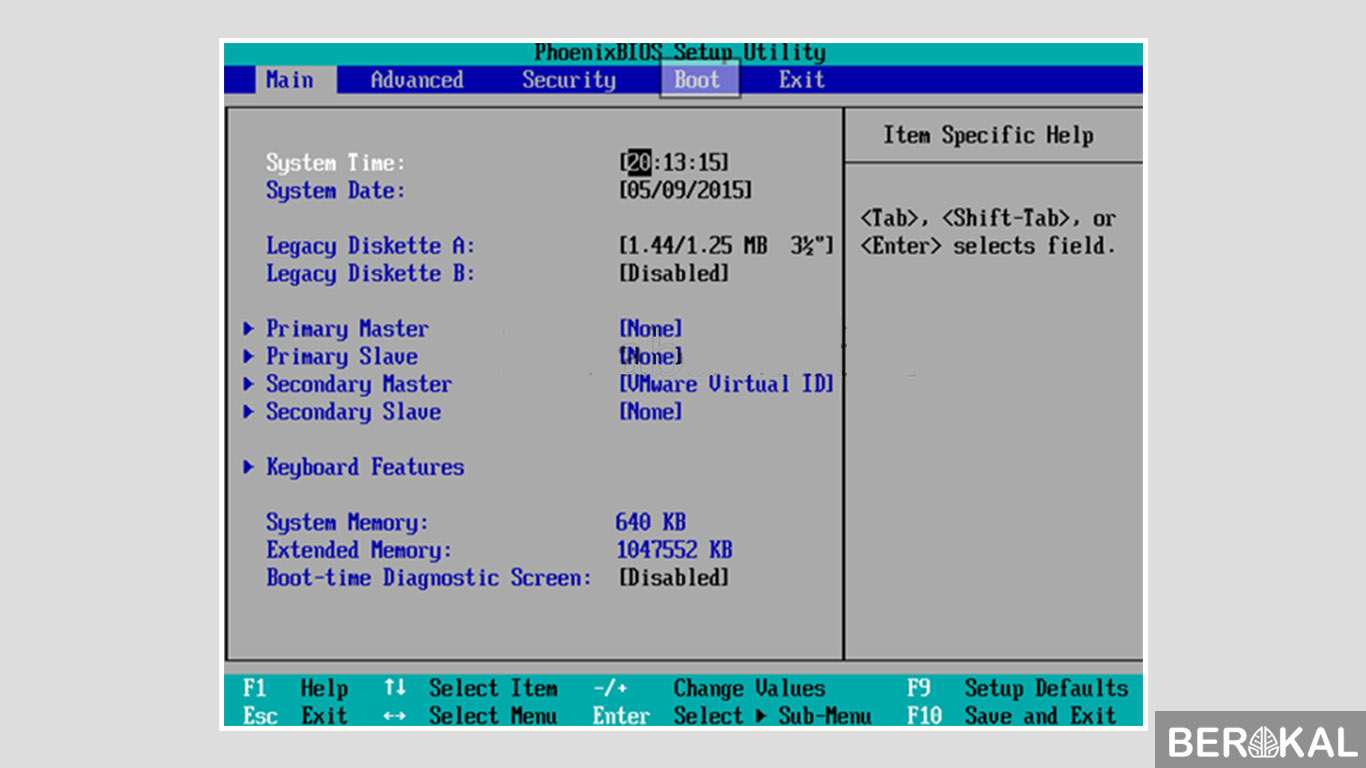
Now, insert your bootable flashdisk into your computer and restart it. Press the designated key to enter your BIOS setup. This is usually F2 or Delete. You will see a screen showing your computer’s basic information.
Find the Boot or Boot Order menu and select your flashdisk as the first boot device. Save the changes and exit the BIOS setup. Your computer will restart, and the Windows 7 installation process will begin.
Step 4: Install Windows 7
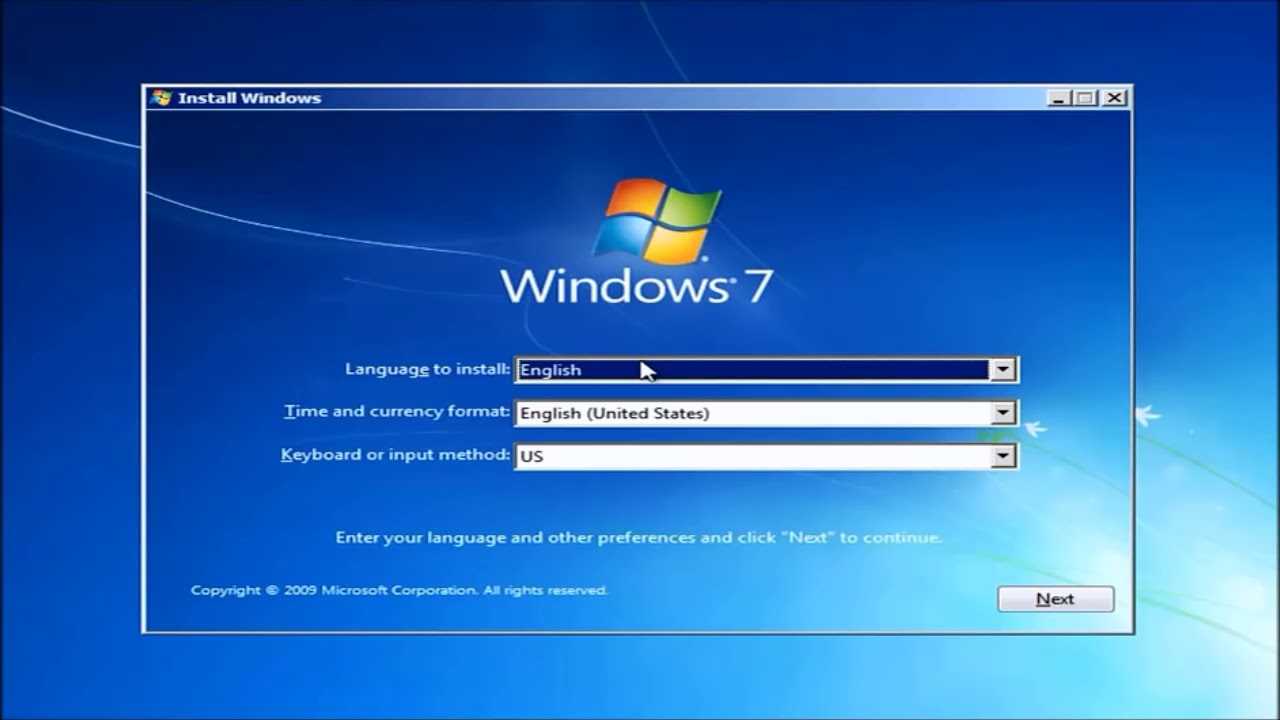
Follow the on-screen instructions to install Windows 7. You will be asked to select your language, time and currency format, and keyboard input. Then, you will be presented with the installation options. Choose the one that suits your needs.
Next, you will be asked to partition your hard drive if you haven’t already done so. You can create a new partition or use an existing one. Once you have partitioned your hard drive, select the partition where you want to install Windows 7.
Windows 7 will now be installed on your computer. This process may take some time, so be patient. During the installation, your computer may restart several times. Do not interrupt the installation process.
Step 5: Install Drivers and Applications
Once Windows 7 has been installed, you need to install the necessary drivers for your computer’s hardware. You can download drivers from the manufacturer’s website or use a third-party driver update software.
Next, install your favorite applications and programs, such as Microsoft Office, antivirus software, and media players. You can download these from the Internet or install them from your installation discs.
FAQ
Q: Do I need to activate Windows 7 after reinstalling it?
A: Yes, you need to activate Windows 7 to use it. You can activate Windows 7 by entering a valid product key or using Windows Loader.
Q: Will reinstalling Windows 7 delete my data?
A: Yes, reinstalling Windows 7 will erase all the data on your computer’s hard drive. Therefore, it is important to back up your important data before reinstalling Windows 7.
Video Tutorial: How to Reinstall Windows 7
Conclusion
Reinstalling Windows 7 is a simple process that can make your computer run like new again. Back up your data, create a bootable flashdisk, change your boot order in BIOS, install Windows 7, and install the necessary drivers and applications. With these steps, you can easily reinstall Windows 7 and get your computer back in working order.
+Dengan+Flashdisk.jpg)


