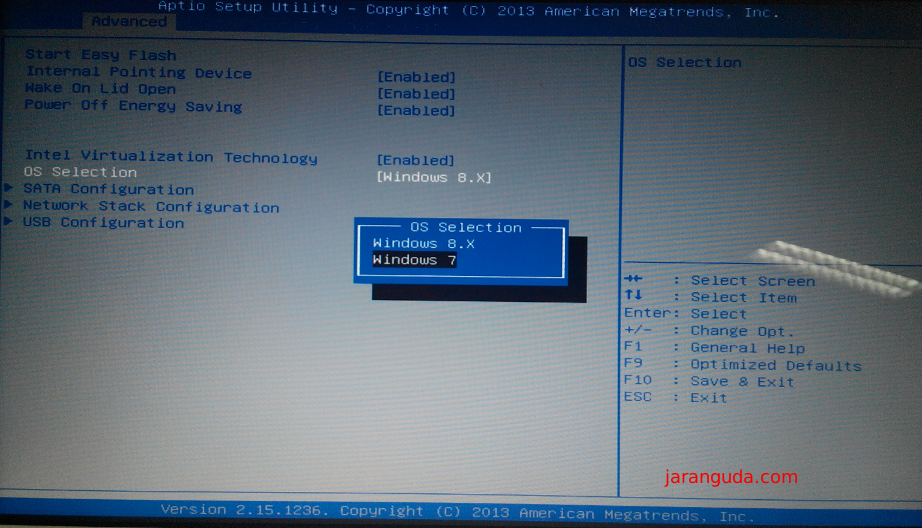
Installing a new operating system on your laptop can be a daunting task, especially if you have never done it before. Thankfully, there are plenty of resources available to help you through the process. In this article, we will go over the steps to install Windows 7, 8, or 10 on your laptop.
The following steps are for a clean installation of Windows 7, 8, or 10 on your laptop. This means that all existing data and programs will be erased from your hard drive, so be sure to back up any important files before proceeding.
Step 1: Create a bootable USB or DVD
You will need a bootable USB or DVD to install the operating system. To create one, you can use a tool like Rufus or the Windows USB/DVD Download Tool. Follow the instructions provided by the tool to create a bootable device.
Step 2: Insert the bootable device
Insert the bootable USB or DVD into your laptop’s USB port or DVD drive and restart your laptop.
Step 3: Boot from the bootable device
You will need to boot your laptop from the bootable device. To do this, press the key that allows you to access the boot menu when your laptop starts up. This is usually the F12 key, but it may vary depending on your laptop model. Select the bootable device from the list provided in the boot menu and press Enter.
Step 4: Choose the language and region settings
Once the bootable device loads, you will be prompted to choose the language and region settings. Select the options that apply to you and click Next.
Step 5: Enter the product key
Next, you will be prompted to enter the product key for your version of Windows. Enter the key and click Next.
Step 6: Accept the terms and conditions
You will need to accept the terms and conditions in order to proceed with the installation. Read through the terms and conditions and click Accept to continue.
Step 7: Choose the installation type
You will have the option to choose the installation type. Select Custom (advanced) to do a clean installation of the operating system.
Step 8: Select the hard drive
Next, you will need to select the hard drive that you want to install the operating system on. If you have multiple hard drives, be sure to select the correct one. If you need to, you can delete existing partitions to create a new one by clicking on the Drive options (advanced) link.
Step 9: Install the operating system
Click the Install button to begin the installation process. The installation may take some time, so be patient.
Step 10: Configure Windows settings
Once the installation is complete, you will need to configure the Windows settings. Follow the prompts to set up your user account, network settings, and privacy settings.
FAQs
Q: How do I backup my files before installing Windows?
A: There are several ways to back up your files before installing Windows. You can use an external hard drive or USB drive to copy your files to. You can also use a cloud storage service like Google Drive, Dropbox, or OneDrive to store your files online. It is important to make sure that your files are backed up in a safe location before proceeding with the installation.
Q: Do I need to install drivers after installing Windows?
A: Yes, you will need to install drivers after installing Windows. Drivers are software programs that allow your laptop’s hardware to communicate with the operating system. Windows will install some drivers automatically, but you may need to manually install additional drivers for your specific laptop model. You can usually download the drivers from your laptop manufacturer’s website.
Step-by-Step Guide for HP Laptop
Step 1: Prepare a bootable device
Follow the steps above to create a bootable device for Windows installation.
Step 2: Insert the bootable device
Insert the bootable USB or DVD into your HP laptop’s USB port or DVD drive and restart your laptop.
Step 3: Boot from the bootable device
Press the F9 key when your HP laptop starts up to access the boot menu. Select the bootable device from the list and press Enter.
Step 4: Choose the language and region settings
Select the appropriate language and region settings and click Next.
Step 5: Enter the product key
Enter the product key for your version of Windows and click Next.
Step 6: Accept the terms and conditions
Read through the terms and conditions and click Accept to continue.
Step 7: Choose the installation type
Select Custom (advanced) to do a clean installation of Windows.
Step 8: Select the hard drive
Select the hard drive that you want to install Windows on, and click Next.
Step 9: Install Windows
Click the Install button to begin the installation process.
Step 10: Install drivers and software
After the installation is complete, you will need to install drivers and software for your HP laptop. You can usually download the necessary drivers and software from the HP website.
Video Tutorial
Now that you know how to install Windows on your laptop, you can enjoy all the benefits of a clean operating system. Remember to backup your files and install the necessary drivers and software after the installation is complete.


