Wouldn’t it be nice to easily import your database to MySQL? If you’re looking for a solution, you’ve come to the right place! Read on to find out how to import your database with ease.
Importing Database to MySQL
Firstly, you need to open your MySQL server and create a new database that you will import your database into. To do this, simply enter the following code:
CREATE DATABASE new_database;After creating the new database, you can import your existing database into it. You can do this by using the command line or through a graphical user interface (GUI). Here, we will show you both methods so you can choose which one you prefer.
Using Command Line
The first step in importing your database to MySQL using command line is to create a dump of your database. To create a database dump, run the following command:
mysqldump -u [username] -p [database_name] > [dump_file_name].sqlYou will be prompted to enter your MySQL password. Once you have created your database dump, you can import it into the new database you created earlier. To do this, run the following command:
mysql -u [username] -p [new_database] < [dump_file_name].sqlAgain, you will be prompted to enter your MySQL password. Once you have entered your password, your database will be imported into the new database you created earlier.
Using GUI
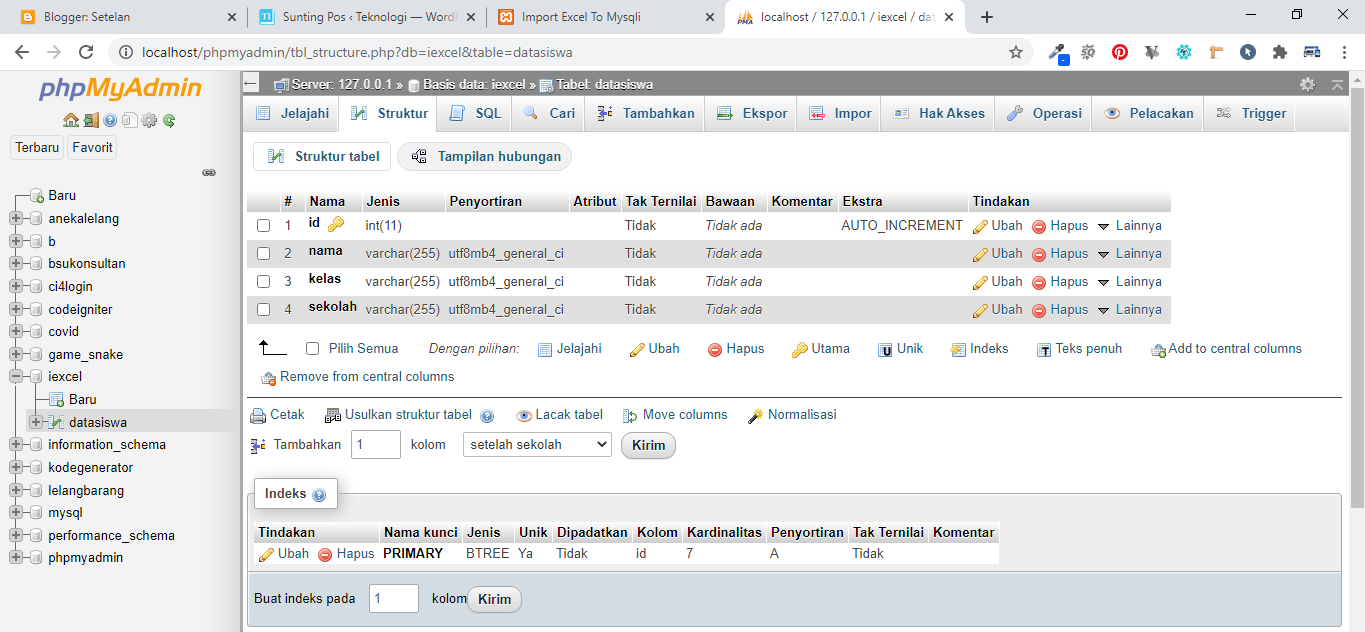
If you prefer to use a GUI, there are many tools available that will allow you to easily import your database to MySQL. One such tool is phpMyAdmin.
To use phpMyAdmin to import your database, follow these steps:
- Open your phpMyAdmin.
- Select the database that you want to import the data to.
- Click on the "Import" tab.
- Select the file that you want to import.
- Click on the "Go" button.
Your database will now be imported into the selected database. This should take a few minutes depending on the size of your database.
FAQs
1. What if I encounter errors during the import process?
If you encounter any errors during the import process, the first thing to do is to check the dump file and make sure that it is correct. You may also want to try importing the database using a different tool.
2. Can I import data from Microsoft Excel to MySQL?
Yes, you can import data from Microsoft Excel to MySQL. One way to do this is to use PHP and the MySQLi extension. Here's an example code on how to import Excel to MySQLi:
<?php
    $host = "localhost";
    $username = "username";
    $password = "password";
    $dbname = "database_name";

    $conn = mysqli_connect($host, $username, $password, $dbname);

    if (!$conn)
        die("Connection failed: " . mysqli_connect_error());


    if (isset($_POST["submit"]))
        $file = $_FILES['file']['tmp_name'];
        $handle = fopen($file, "r");

        while (($data = fgetcsv($handle, 1000, ",")) !== FALSE)
            $sql = "INSERT INTO table_name (column1, column2, column3)
                    VALUES ('" . $data[0] . "', '" . $data[1] . "', '" . $data[2] . "')";

            mysqli_query($conn, $sql);


        fclose($handle);
        header("Location: index.php");
        exit;

?>
To use the above code, create a form that allows you to upload an Excel file, then submit the data to the PHP script. The script will then insert the data from the Excel file into the MySQL database.
Conclusion
Importing your database to MySQL can seem daunting at first, but with the right tools and methods, it can be a straightforward process. Whether you choose to use the command line or a GUI, make sure to check your database and import it correctly to avoid any potential errors. With these simple steps, you can easily import your database to MySQL and get back to working on your project!
Video Tutorial


