Are you tired of repeatedly using CD/DVD to install your Windows operating system? Or did you lose your product key/serial number for your Windows 8 installation? Here, we will guide you on how to install Windows 8 and Windows 7 via a USB flash drive – a much more convenient and faster way to install your OS.
Installing Windows 8 via Flash Drive
First, you need to create a bootable USB flash drive with the Windows 8 installation files. Here are the steps:
- Download the Windows 8 USB tool from Microsoft’s website.
- Insert your USB flash drive (at least 4GB of space) into your computer and format it.
- Open the Windows 8 USB tool and select “Browse” to search for the Windows 8 ISO file on your computer.
- Select “USB device” as the media type.
- Select your USB flash drive from the list of devices.
- Click “Begin copying” to create the bootable USB flash drive.
Don’t worry if the process takes a few minutes. Once the bootable USB flash drive is ready, plug it into the computer where you want to install Windows 8 and follow these steps:
- Restart your computer and access the BIOS settings by pressing F2, F12, or Del (depending on the manufacturer) to enter the boot menu.
- Select “Boot from USB” or “Boot from External Device” in the boot menu.
- Save the settings and restart your computer.
- Follow the on-screen instructions to complete the installation of Windows 8.
Installing Windows 8 without a Product Key
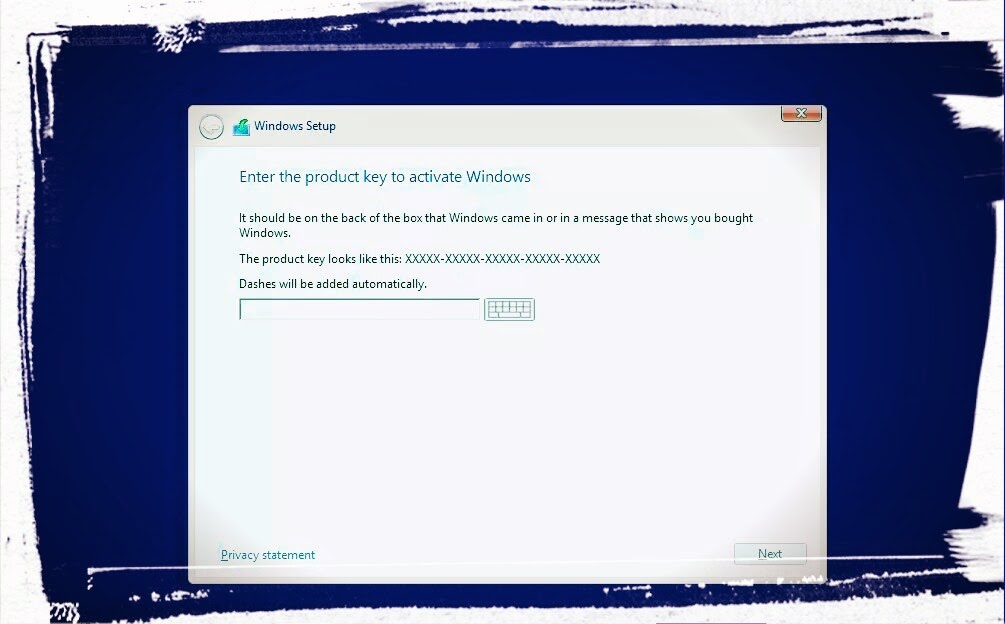
If you’ve lost your product key or serial number for your Windows 8 installation, don’t worry – you can still install Windows 8 without it. Here’s how:
- Download the Windows 8.1 installation files from Microsoft’s website.
- Insert your USB flash drive (at least 4GB of space) into your computer and format it.
- Open the Command Prompt as an administrator.
- Type “diskpart” and press Enter.
- Type “list disk” and press Enter.
- Type “select disk X” (where X is the number of your USB flash drive) and press Enter.
- Type “clean” and press Enter.
- Type “create partition primary” and press Enter.
- Type “format fs=ntfs quick” and press Enter.
- Type “active” and press Enter.
- Type “exit” and press Enter.
- Mount the Windows 8.1 ISO file by double-clicking it.
- Copy the contents of the ISO file to the USB flash drive.
Once the USB flash drive is ready, plug it into the computer where you want to install Windows 8 and follow these steps:
- Restart your computer and access the BIOS settings by pressing F2, F12, or Del (depending on the manufacturer) to enter the boot menu.
- Select “Boot from USB” or “Boot from External Device” in the boot menu.
- Save the settings and restart your computer.
- When prompted for a product key during the installation, select “Skip.”
- Complete the installation of Windows 8.
Frequently Asked Questions
1. Can I use any USB flash drive to create a bootable drive?
As long as the USB flash drive has at least 4GB of space and is formatted correctly, you can use it to create a bootable drive.
2. Do I need an internet connection to install Windows 8?
An internet connection is not required to install Windows 8. However, if you want to download updates during the installation process, an internet connection is recommended.
Video Tutorial
Now that you know how to install Windows 8 and Windows 7 via a USB flash drive, you can save time and hassle by not having to use CDs or DVDs. And, if you ever lose your product key, you can still install Windows 8 without it. Follow the steps above and start enjoying your new operating system in no time.

